

If there is a dessert that tastes like pure celebration and asks for almost nothing in return, it is this easy no bake peanut butter pie with cream cheese. Imagine a cool, cloud-like filling that tastes like the inside of a peanut butter cup — rich, salty-sweet and impossibly smooth — piled into a buttery graham cracker crust and chilled until it slices like a dream. No oven. No water bath. No cracked tops or fussy timing. Just a hand mixer, a pie plate and a little patience while the fridge does the work.
The cream cheese is the quiet hero of this recipe. It gives the filling body and a gentle tang that keeps the peanut butter from tasting heavy or one-note, and it helps the pie set up firm enough for clean, beautiful slices. Freshly whipped cream folded in at the end keeps everything light, so each bite melts instead of clinging. This is the kind of pie that shows up at potlucks and vanishes before the main course is cleared, and the cook gets asked for the recipe every single time.
Because it is made ahead and served cold, this pie is a gift for busy hosts. Make it the night before a holiday or barbecue and dessert is simply handled. It is also a wonderful recipe for young bakers and anyone whose kitchen runs hot in summer — the only “cooking” is melting a little butter for the crust. Dress it up with a chocolate drizzle and a crunch of salted peanuts, and you have a diner-worthy dessert that took fifteen minutes of real work.
Serves: 8–10 | Prep time: 15 minutes | Cook time: none | Total time: 15 minutes, plus at least 4 hours chilling
Ingredients
Every ingredient here is a supermarket staple. A few details make a real difference: the cream cheese must be full-fat and fully softened for a lump-free filling, the peanut butter should be the regular creamy kind rather than the natural stir-style (which can make the filling oily and loose), and the heavy cream should be nice and cold so it whips up tall and stable.
For the graham cracker crust
- 1½ cups (150 g) graham cracker crumbs (about 10 full sheets)
- ⅓ cup (65 g) granulated sugar
- 6 tablespoons (85 g) unsalted butter, melted
- Pinch of fine salt
For the peanut butter filling
- 8 ounces (225 g) full-fat cream cheese, softened to room temperature
- 1 cup (260 g) creamy peanut butter (regular, not natural style)
- 1 cup (120 g) powdered sugar, sifted if lumpy
- 1 teaspoon pure vanilla extract
- ¼ teaspoon fine salt
- 1¼ cups (300 ml) cold heavy whipping cream
For the topping (optional but recommended)
- ½ cup (120 ml) heavy cream, whipped, or a few generous dollops
- 2 tablespoons chopped salted peanuts
- 2 tablespoons mini chocolate chips or a drizzle of chocolate sauce
- A few peanut butter cups, chopped (optional)
Step-by-Step Method
- Make the crust (5 minutes). In a medium bowl, stir the graham cracker crumbs, sugar and salt together. Pour in the melted butter and mix with a fork until every crumb looks like damp sand. Tip the mixture into a 9 inch (23 cm) pie plate. Press it firmly and evenly across the bottom and up the sides — the flat bottom of a measuring cup makes this easy and gives you a compact crust that will not crumble when sliced.
- Chill the crust (10 minutes). Put the crust in the freezer for 10 minutes (or the refrigerator for 30 minutes) while you make the filling. A firm, cold crust holds its shape when you spread in the filling and gives the finished pie a satisfying crunch against the soft center.
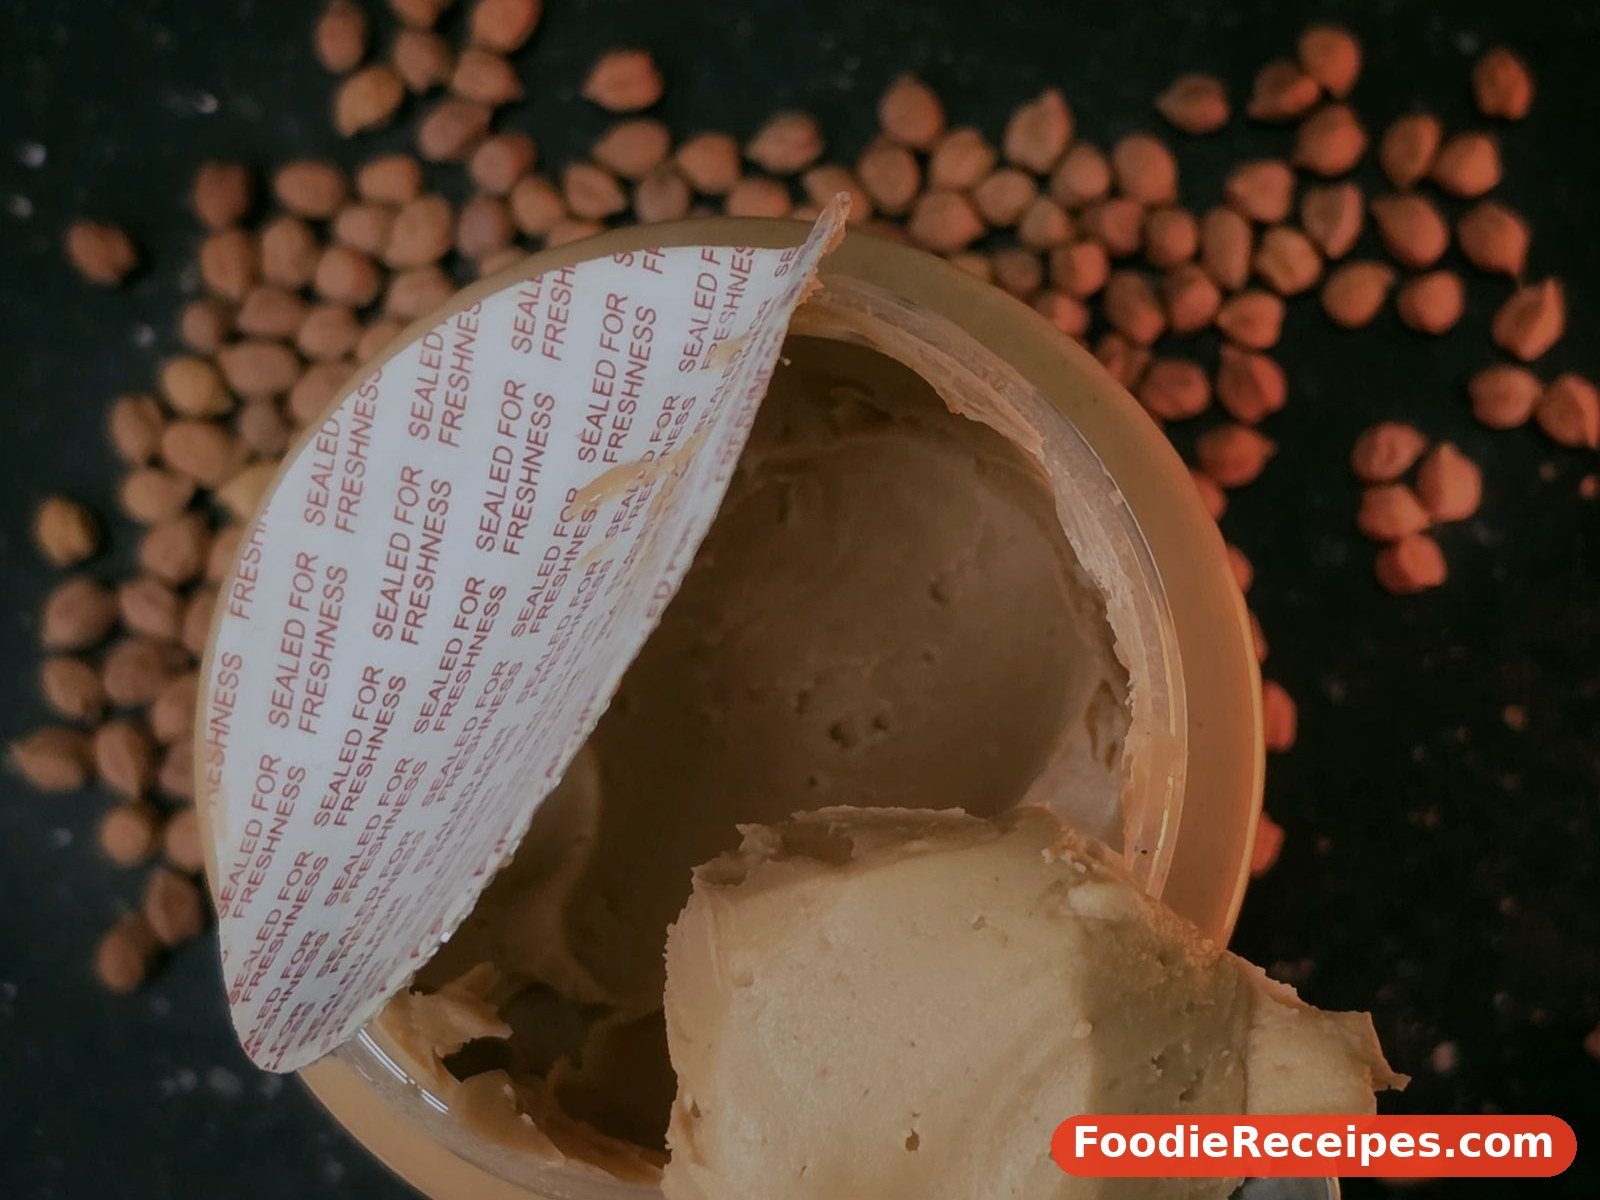
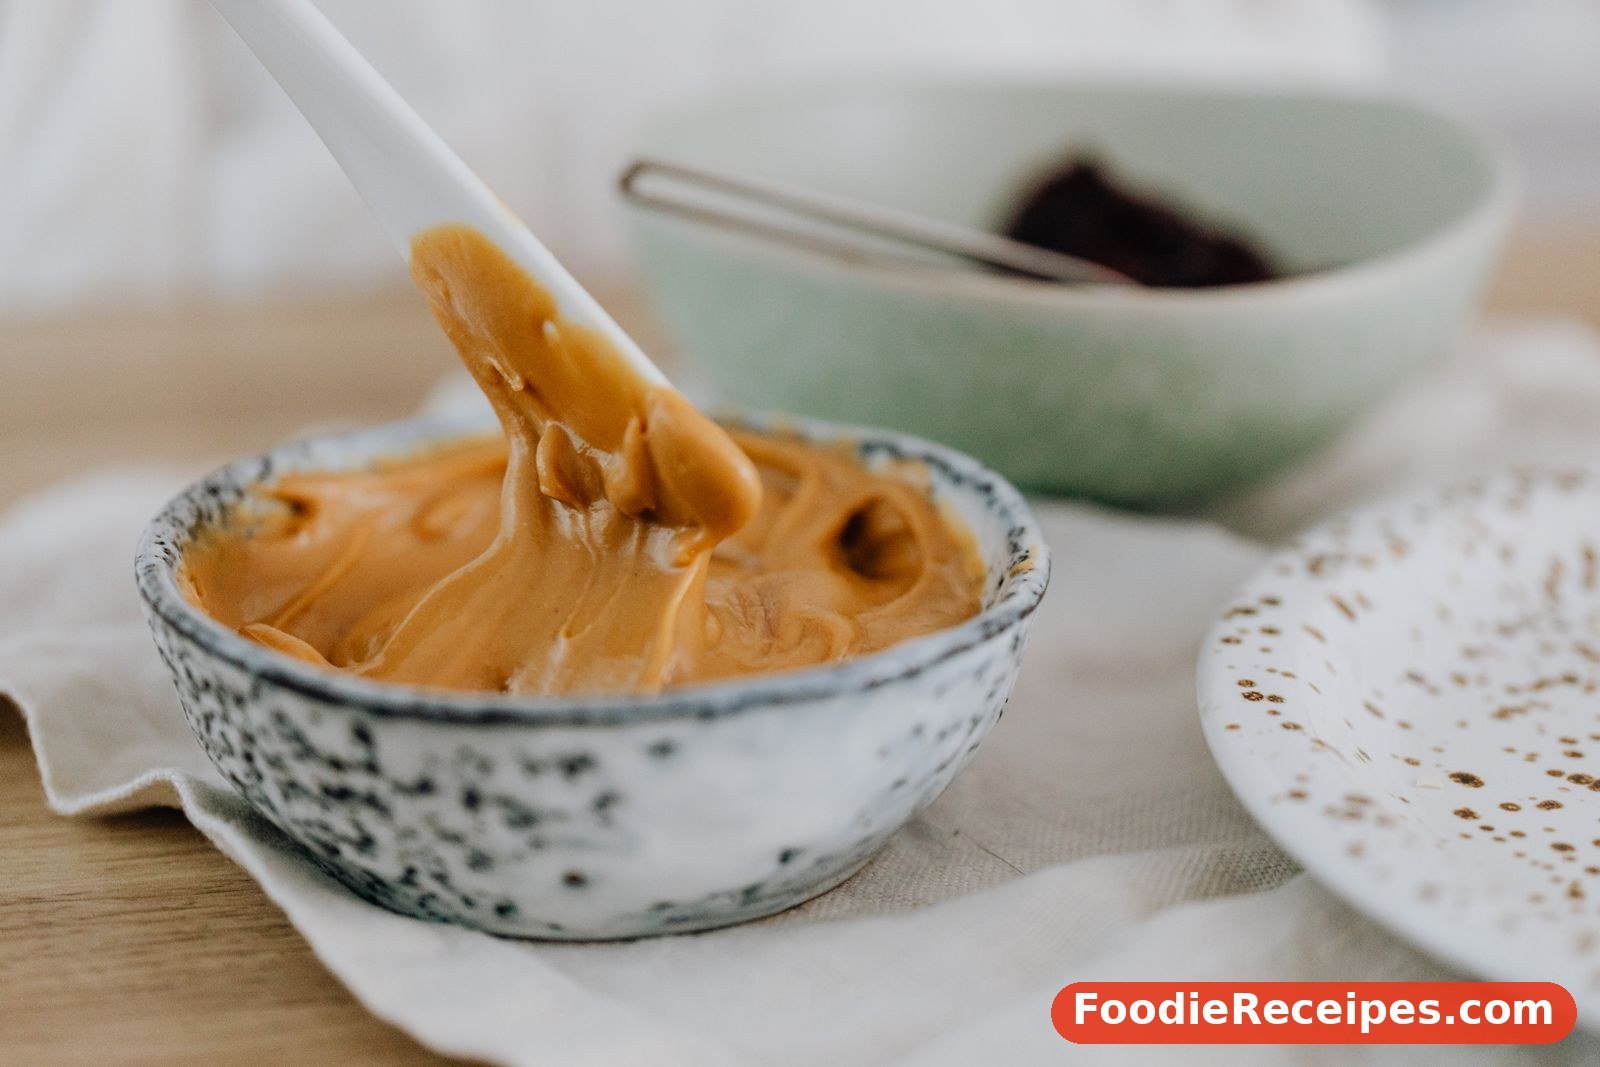
- Beat the cream cheese and peanut butter (3 minutes). In a large bowl, beat the softened cream cheese with a hand mixer on medium speed until completely smooth, about 1 minute. Add the peanut butter, powdered sugar, vanilla and salt. Beat again until the mixture is thick, smooth and uniform, scraping down the bowl once. It should look like a very thick frosting. Taste it — this is the cook’s reward, and you can add a tiny pinch more salt if you love that salty-sweet contrast.
- Whip the cream (3 minutes). In a separate chilled bowl, whip the cold heavy cream to firm peaks, about 2 to 3 minutes. Firm peaks matter: the whipped cream is what sets this filling, so whip until the cream holds its shape when you lift the beaters, but stop before it turns grainy.
- Fold it together (2 minutes). Add about a third of the whipped cream to the peanut butter mixture and stir it in to lighten the base. Then add the rest and fold gently with a spatula, turning the bowl as you go, until no white streaks remain. Fold, do not stir — you are keeping all that air you just whipped in, and that air is what makes the filling taste like a mousse instead of a brick.
- Fill and smooth (2 minutes). Scrape the filling into the chilled crust and smooth the top with the back of a spoon or an offset spatula. Make a few gentle swirls for a pretty finish, or keep it perfectly flat if you plan to add toppings later.
- Chill until set (at least 4 hours). Cover the pie loosely with plastic wrap — not touching the surface — and refrigerate for at least 4 hours, or overnight for the firmest, cleanest slices. The pie is ready when the center feels set and does not jiggle when the plate is nudged.
- Garnish and serve. Just before serving, add the whipped cream, chopped peanuts, chocolate chips or drizzle. Slice with a long, sharp knife, wiping the blade clean between cuts for picture-perfect pieces.
Tips for Perfect Results
- Soften the cream cheese properly. Cold cream cheese beats into tiny lumps that never fully disappear. Leave it on the counter for 45 to 60 minutes, or unwrap it, cube it and microwave in 10-second bursts until just soft.
- Use regular peanut butter. Natural peanut butter separates and can make the filling greasy and soft. A standard creamy peanut butter gives the pie structure and that classic flavor.
- Do not under-whip the cream. Soft, floppy whipped cream leads to a soft, floppy pie. Firm peaks are your insurance for clean slices.
- Fold gently and patiently. Aggressive stirring knocks out the air and shortens the filling. Ten slow folds beat fifty fast stirs every time.
- Chill longer than you think. Four hours is the minimum; overnight is better. A well-rested pie cuts like it came from a bakery case.
- Slice with a hot knife. Run the knife under hot water and dry it between slices. The blade glides through the filling and leaves sharp, clean edges.
Variations and Substitutions
Chocolate cookie crust. Swap the graham crumbs for 1½ cups (150 g) of chocolate sandwich cookie crumbs and leave out the sugar. The dark crust with the pale filling looks striking and tastes like a candy bar.
Peanut butter cup pie. Fold 1 cup (about 150 g) of chopped peanut butter cups into the finished filling and scatter more on top. This is the version kids request for birthdays.
Frozen peanut butter pie. Freeze the finished pie for 4 to 6 hours and serve it semi-frozen, like an ice cream pie. Let it stand at room temperature for 10 minutes before slicing so the knife can get through.
Pretzel crust. Replace half the graham crumbs with finely crushed pretzels (75 g) for a salty crunch that plays beautifully with the sweet filling.
Lighter pie. Use reduced-fat cream cheese and fold in an equal volume of light whipped topping instead of the whipped cream. The texture will be slightly softer, so give it the full overnight chill.
Individual pies. Divide the crust and filling among six small jars or ramekins. No slicing, easy transport, and built-in portion control for picnics and lunchboxes.
What to Serve With
This pie needs very little company — a cup of black coffee or a glass of cold milk is the classic pairing, and both cut the richness beautifully. For a dessert spread, set it alongside fresh berries or a simple fruit salad so guests can balance the plate. It is a natural fit after barbecue, burgers, fried chicken or chili — the kind of hearty American dinners that call for a cool, sweet finish. On holidays, it holds its own next to pumpkin and pecan pie and is usually the first one gone, because there is always someone who saves room for peanut butter.
Serving and Storage
Serve the pie well chilled, straight from the refrigerator. One pie makes 8 generous slices or 10 smaller ones after a big meal — the filling is rich, so modest slices satisfy. Store leftovers covered in the refrigerator for up to 5 days; the crust will soften slightly over time but the flavor stays wonderful.
This pie freezes beautifully, which makes it a perfect make-ahead dessert. Wrap the whole pie (or individual slices) tightly in plastic wrap and then foil, and freeze for up to 2 months. Thaw slices in the refrigerator for about 1 hour, or the whole pie for 3 to 4 hours, before serving. Add fresh garnishes after thawing so the peanuts stay crunchy and the whipped cream looks its best. Do not refreeze a thawed pie, and keep it refrigerated whenever it is not being served — it contains cream cheese and whipped cream, so it should not sit out for more than 2 hours.
Common Mistakes to Avoid
No bake pies are simple, but they are not forgiving of a few specific shortcuts. Here are the ones that matter, and how to avoid each.
- Using cold cream cheese. This is the most common mistake in any no bake cheesecake-style pie. Cream cheese beaten straight from the fridge forms tiny lumps suspended in the filling, and no amount of further beating smooths them out once the peanut butter joins. Set the block out a full hour ahead, or cube it and warm it in the microwave in short bursts until it gives easily to a fingertip.
- Reaching for natural peanut butter. It seems like a healthy swap, but natural peanut butter’s oil separates and weeps into the filling, making the pie greasy on top and too soft to slice. Save the natural jar for toast; a conventional creamy peanut butter is the structural backbone of this pie.
- Under-whipping the cream. Softly whipped cream that barely holds a peak cannot hold up a filling. Whip to firm, confident peaks — the cream should stand up when you lift the beaters — but stop the moment it looks smooth and glossy, because over-whipped cream turns grainy and can even start to churn toward butter.
- Stirring instead of folding. The air in whipped cream is the only thing standing between mousse and brick. Fold with a wide spatula, cutting down through the center and sweeping up the side, turning the bowl as you go. It feels slow for about ten turns, and then suddenly it is done.
- Skimping on the chill. A pie chilled for two hours will taste fine and slice like a puddle. Four hours is the honest minimum, and overnight is genuinely better — the filling firms, the crust softens just slightly where it meets the filling, and the flavors settle into each other. Plan the pie for tomorrow and it will never disappoint you.
- Pressing the crust too loosely. A crust that is sprinkled in rather than pressed will shatter into crumbs the first time a knife touches it. Use the flat bottom of a measuring cup and real pressure, especially up the sides, and give it its freezer rest before filling.
Slicing and Presentation Tips
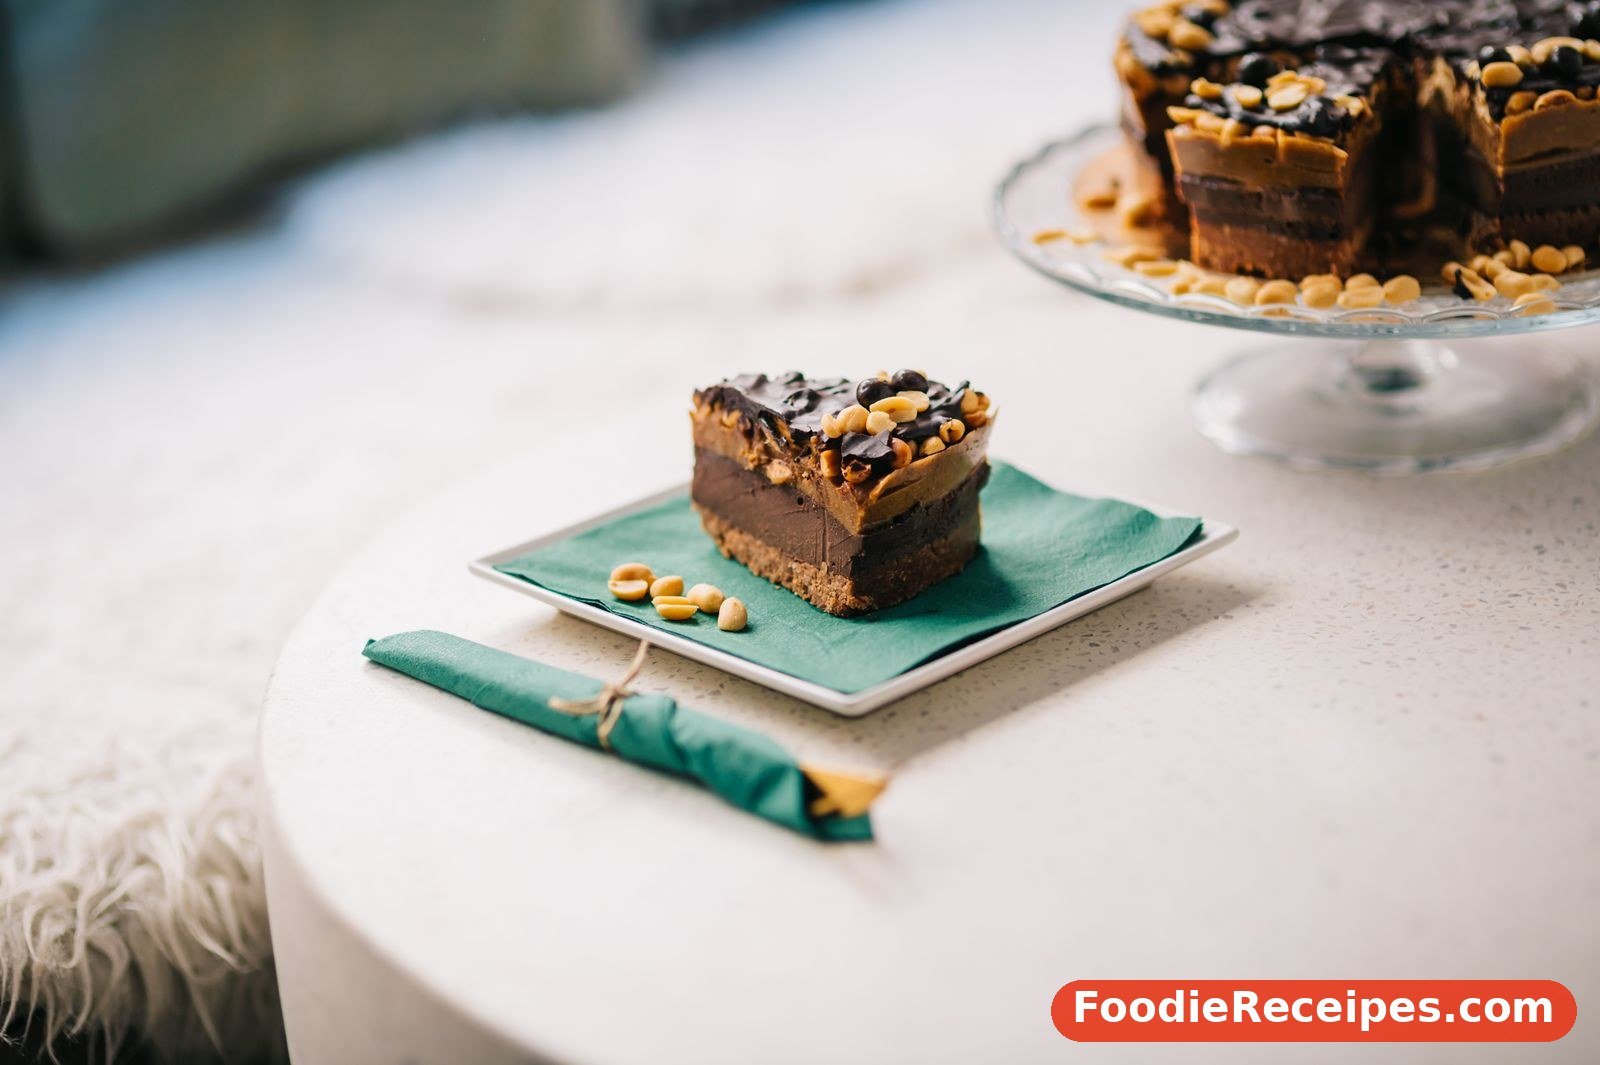
For bakery-clean slices, dip a long, thin knife in hot water, wipe it dry, and make each cut with one smooth downward motion, cleaning and re-warming the blade between slices. Serve the pie on chilled plates if you can — a warm plate starts melting the filling on contact in a summer kitchen. A small drizzle of warmed peanut butter (10 seconds in the microwave makes it pourable) or chocolate sauce in a zigzag across each slice, a pinch of chopped salted peanuts and a single mini peanut butter cup perched on the whipped cream turns this humble pie into something that looks like it came from a dessert case — for about thirty extra seconds of effort.
Frequently Asked Questions
Can I use whipped topping instead of whipping cream?
Yes. Fold in about 3 cups (225 g) of thawed whipped topping in place of the whipped cream. The filling will be a little sweeter and very stable — a good choice for warm days and long potluck tables.
Why is my pie too soft to slice?
Usually the cream was under-whipped, the pie did not chill long enough, or natural peanut butter made the filling loose. Give it several more hours in the fridge; if it is still soft, a 1-hour stay in the freezer firms it right up for serving.
Can I make this pie ahead for a party?
It is ideal for making ahead. Prepare it 1 to 2 days in advance, keep it covered in the refrigerator, and garnish just before serving. The flavor actually improves after a night of rest.
What can I use instead of a graham crust?
A chocolate cookie crust, a pretzel crust or even a store-bought crust all work. A store-bought crust is smaller, so you may have a little filling left over — spoon it into a small dish and chill it as a cook’s treat.
Is crunchy peanut butter okay?
It works and adds texture, though the filling will not be silky smooth. If you love crunch, use creamy peanut butter in the filling and get your crunch from the chopped peanuts on top instead.
Can I reduce the sugar?
You can cut the powdered sugar to ¾ cup (90 g) for a more peanut-forward, less sweet pie. The texture stays the same because the set comes from the cream cheese and whipped cream, not the sugar.
Does this pie need to stay refrigerated?
Yes. Because it contains cream cheese and fresh whipped cream, keep it in the refrigerator and return leftovers promptly. For serving, it can sit out for up to 2 hours.
Can I make this pie in a different pan?
Yes. An 8 or 9 inch (20 or 23 cm) springform pan makes a taller, cheesecake-style pie that unmolds beautifully — press the crust a little way up the sides. You can also build it in an 8 × 8 inch (20 × 20 cm) square dish and cut it into bars instead of slices, which is handy for bake sales and lunchboxes. Whatever pan you choose, keep the filling quantities the same and give it the full chill.
Cool, creamy and loaded with peanut butter flavor, this no bake pie is the dessert equivalent of a deep breath — easy, calm and deeply satisfying. Keep the ingredients on hand and you will always be ready when the words “can you bring dessert?” come your way.