

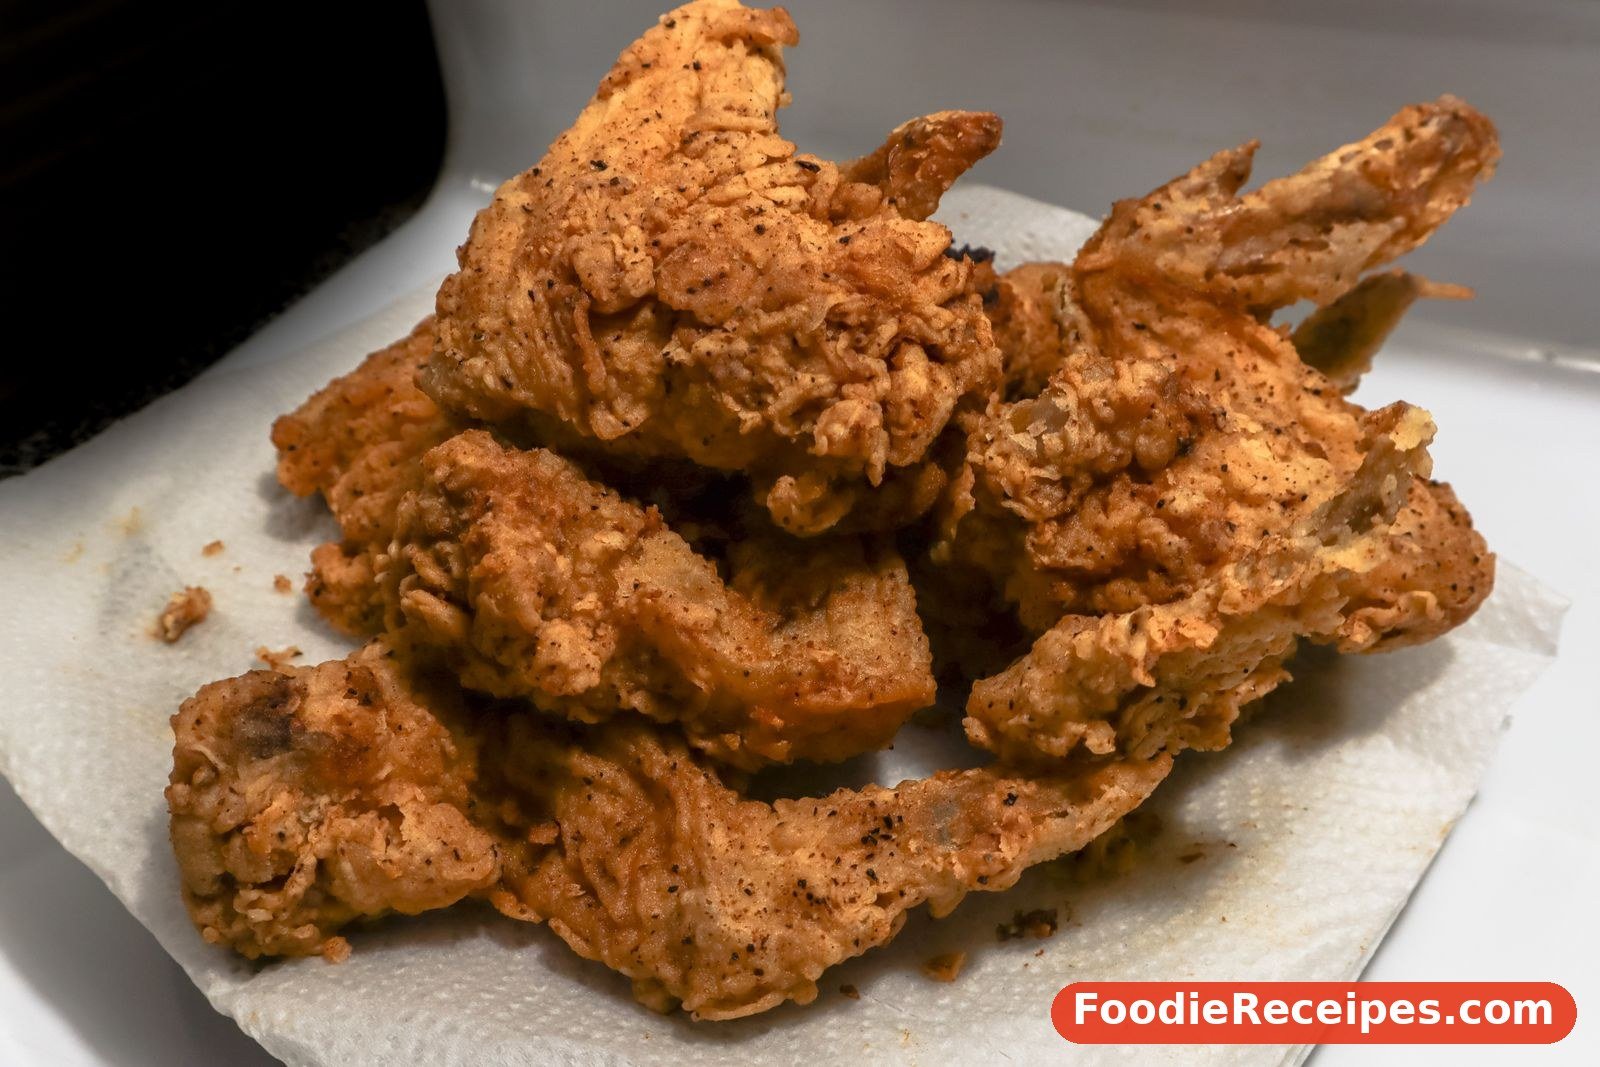
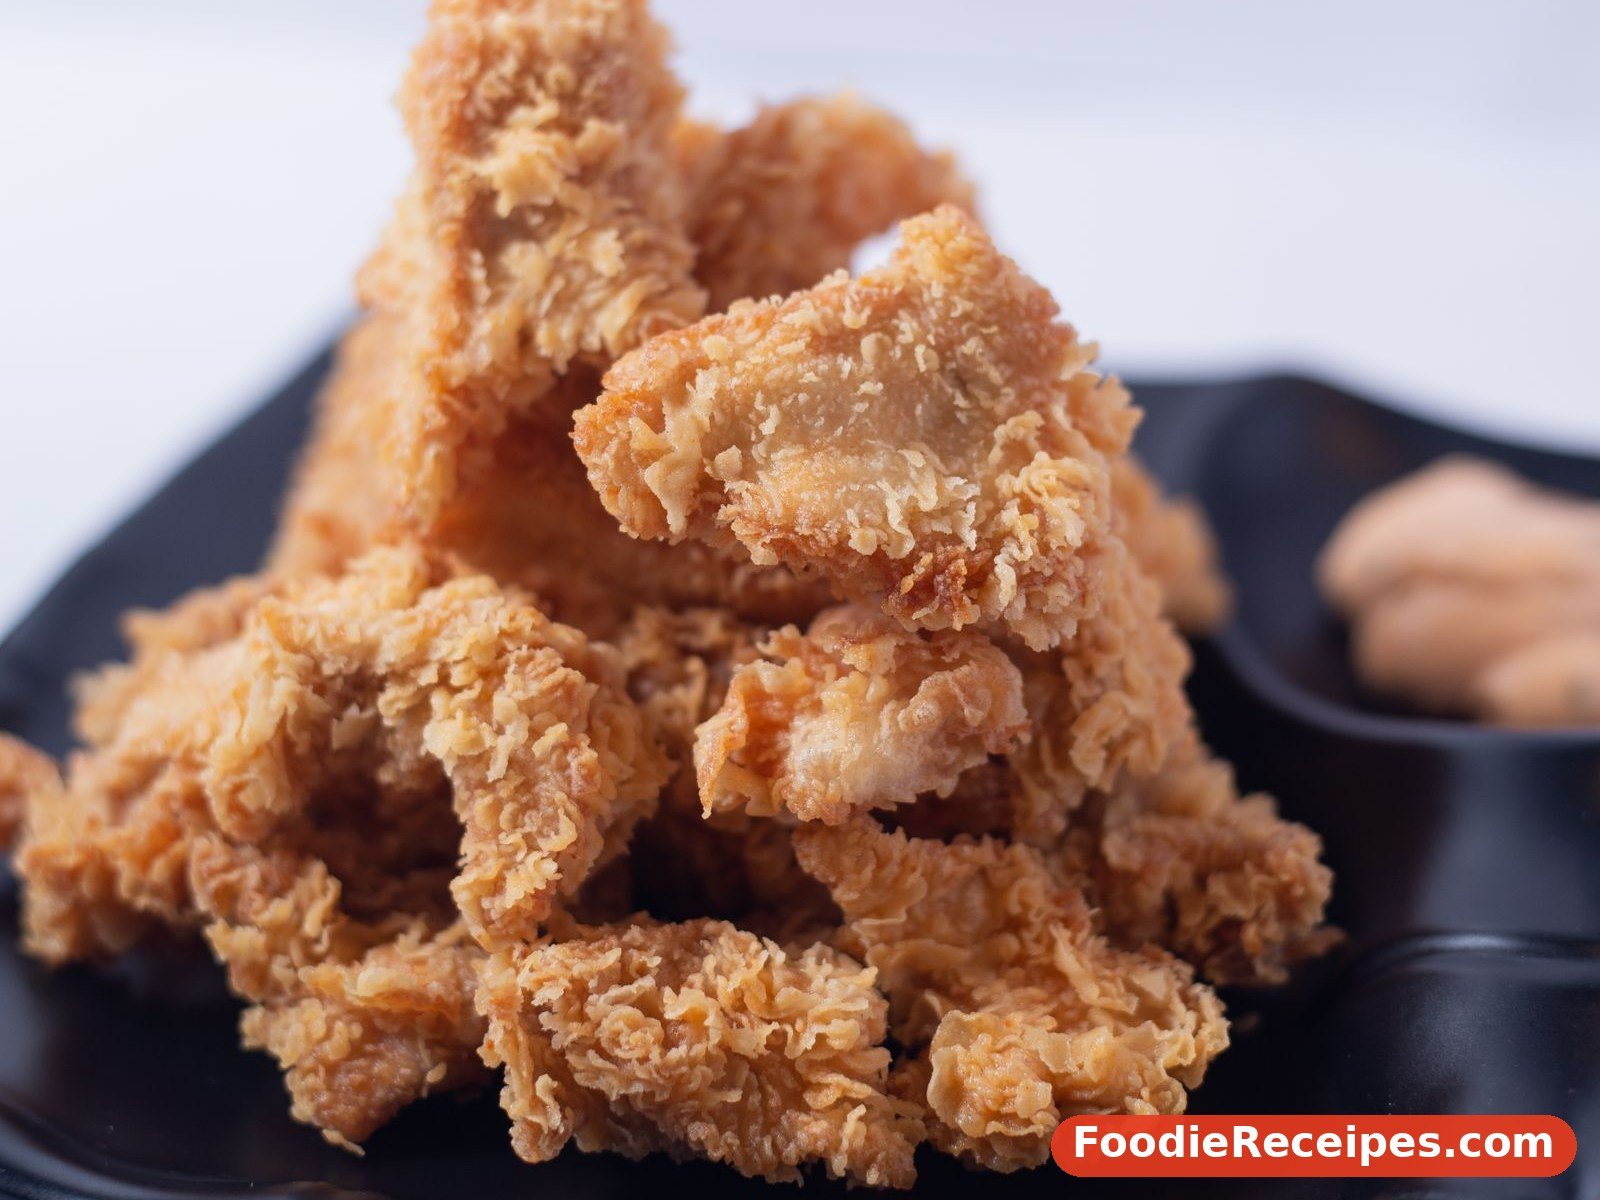
Buttermilk fried chicken gets all the glory, but plenty of Southern grandmothers fried spectacular chicken long before buttermilk brines became fashionable — and plenty still do on days when there is no buttermilk in the house. The older method is simpler and, done properly, every bit as good: a plain salt-water brine to season the meat all the way to the bone and keep it juicy, then well-seasoned flour, a proper rest so the coating sets, and hot fat in a heavy skillet. That is all it takes to get chicken with a deep golden, craggy, shatteringly crisp crust and meat that stays moist through the last bite.
This recipe is for anyone who has stood in the kitchen with a chicken, a bag of flour, and no buttermilk — or for anyone who simply prefers a cleaner, more straightforward fried chicken flavour. The salt brine does the tenderising work that buttermilk usually claims credit for, drawing seasoning deep into the meat and helping the chicken hold onto its juices in the hot oil. A small splash of the brine mixed into the flour creates those shaggy little clusters that fry up into the extra-crunchy bits everyone fights over.
The method below is unhurried and reliable: brine, dry, dredge, rest, dredge again, and fry in batches at a steady temperature. Rush none of it, and you will understand why buttermilk was always optional in a well-run Southern kitchen.
Serves: 4–6 | Prep time: 20 minutes, plus 4–8 hours brining | Cook time: 30–40 minutes | Total time: about 5–9 hours, mostly hands-off
Ingredients
For the salt-water brine
- 8 cups (1.9 litres) cold water
- ½ cup (145 g) kosher salt (or ⅓ cup / 100 g fine table salt)
- 2 tablespoons (25 g) granulated sugar (optional, for gentle browning — it does not make the chicken sweet)
- 2 teaspoons (6 g) garlic powder
- 2 teaspoons (5 g) onion powder
- 1 teaspoon (3 g) black peppercorns or coarse black pepper
- 2 bay leaves (optional)
For the chicken
- 1 whole chicken, about 3½–4 lb (1.6–1.8 kg), cut into 8 pieces (2 breasts, 2 thighs, 2 drumsticks, 2 wings), or the same weight of bone-in, skin-on pieces
For the seasoned flour dredge
- 3 cups (375 g) all-purpose flour
- 2 tablespoons (16 g) cornstarch
- 2 teaspoons (12 g) fine salt
- 2 teaspoons (5 g) paprika (sweet, or smoked for a deeper note)
- 1½ teaspoons (4 g) garlic powder
- 1½ teaspoons (4 g) onion powder
- 1 teaspoon (3 g) black pepper, plus more for finishing
- ½ teaspoon (1 g) cayenne pepper (optional, for gentle heat)
- ½ teaspoon (2 g) baking powder (helps the crust puff and crisp)
- 2–3 tablespoons (30–45 ml) brine or plain water, reserved for the shaggy clusters
For frying
- About 4 cups (950 ml) neutral frying oil with a high smoke point — peanut oil is the Southern classic; vegetable or canola oil also work
- Flaky salt, for finishing (optional)
Why a Salt Brine Works Just as Well
Buttermilk tenderises mainly through mild acidity and salt. A salt-water brine skips the acid — which can turn meat mushy if it sits too long — and goes straight to the part that matters most: salt dissolving muscle proteins so the meat absorbs and holds water, and seasoning travelling deep instead of sitting on the surface. The result is chicken that is seasoned to the bone and noticeably juicier after frying, with a clean flavour that lets the crust and the chicken itself shine.
Step-by-Step Method
- Make the brine (5 minutes). In a large bowl or pot, stir the cold water, salt, sugar (if using), garlic powder, onion powder, pepper, and bay leaves until the salt is fully dissolved. The water should taste pleasantly salty, like the sea.
- Brine the chicken (4–8 hours). Submerge the chicken pieces completely in the brine. Cover and refrigerate for at least 4 hours and up to 8. Less than 4 hours and the seasoning will not reach the bone; much more than 8 and the texture can turn firm and ham-like. Set a timer — this is not a step to guess at.
- Dry the chicken thoroughly (10 minutes). Lift the pieces from the brine and pat them very dry with paper towels — the drier the surface, the better the coating sticks and the less the oil splatters. Let the chicken sit on a rack at room temperature for 20–30 minutes to take the chill off; cold chicken drops the oil temperature and fries up pale and greasy.
- Set up the dredge (3 minutes). In a wide, shallow bowl or a rimmed baking dish, whisk together the flour, cornstarch, salt, paprika, garlic powder, onion powder, black pepper, cayenne, and baking powder. Then drizzle in 2–3 tablespoons of brine (or water) and rub it through the flour with your fingers to create small shaggy clumps. Those clumps become the extra-craggy, extra-crispy bits on the finished chicken.
- First dredge (5 minutes). Working one piece at a time, press the chicken firmly into the seasoned flour, turning and packing the flour onto every surface, including under the skin’s edges and into every fold. Shake off the excess and place the pieces on a clean wire rack.
- Rest the coated chicken (15–20 minutes). This rest is a secret of great fried chicken: it lets the flour hydrate and bond to the skin, so the crust clings instead of slipping off in the oil. Do not skip it. While the chicken rests, heat the oil.
- Second dredge (3 minutes). Just before frying, press each piece into the flour one more time for a thicker, crunchier crust. Shake off the loose excess so it does not burn in the oil.
- Heat the oil (5–8 minutes). Pour oil into a large cast iron skillet or heavy Dutch oven to a depth of about ½ inch (1.3 cm) — roughly 4 cups (950 ml) in a 12-inch (30 cm) skillet. Heat over medium-high heat to 350°F (175°C), measured with a thermometer. The oil should shimmer and a pinch of flour should sizzle immediately and energetically.
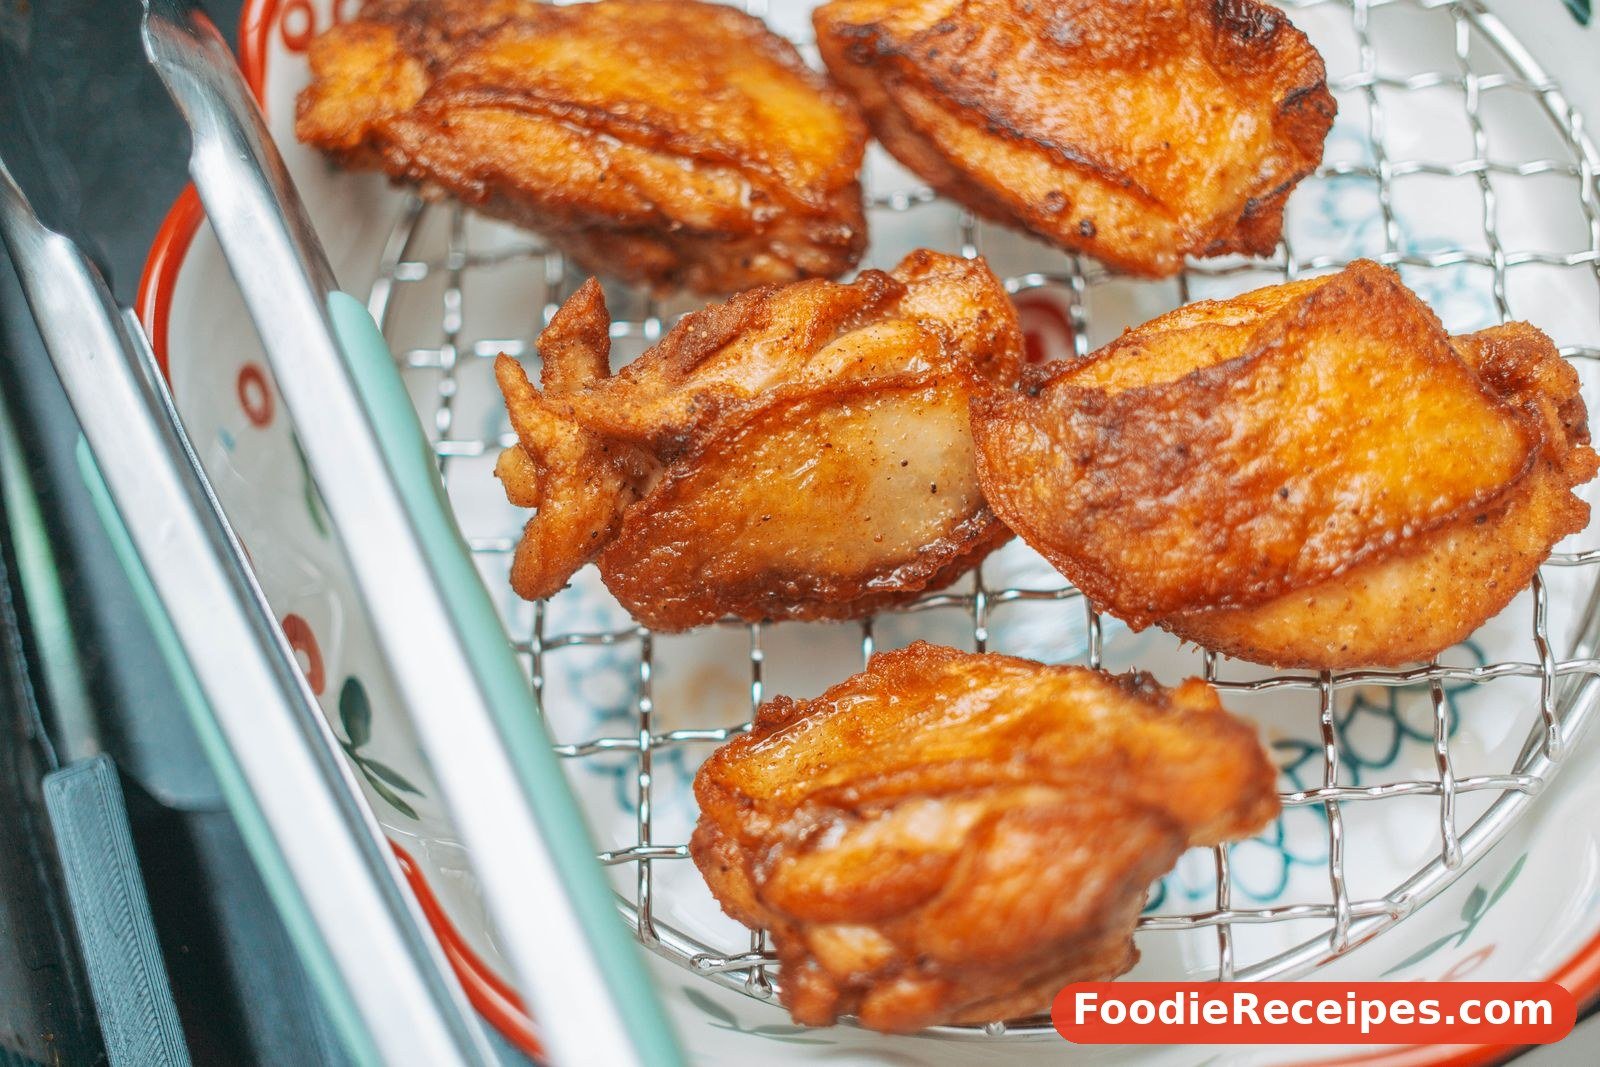
- Fry the first batch (12–16 minutes). Add chicken pieces skin-side down, starting with the largest pieces (thighs and breasts), without crowding the pan — fry in two or three batches. The temperature will drop; adjust the heat to hold the oil between 300–325°F (150–165°C) while frying. Fry undisturbed for 6–8 minutes, until the underside is deep golden brown, then turn carefully with tongs and fry 6–8 minutes more. Wings and drumsticks take about 10–12 minutes total; large breasts may take the full 16.
- Check the temperature (1 minute). The chicken is done when the crust is deep golden and crisp and an instant-read thermometer in the thickest part (not touching bone) reads at least 165°F (74°C). For the juiciest dark meat, thighs are best at 175°F (80°C).
- Drain and rest (5–10 minutes). Move the chicken to a clean wire rack set over a sheet pan — never to paper towels, which trap steam and soften the crust. Sprinkle lightly with flaky salt. Rest at least 5 minutes; the crust sets and the juices settle. Keep finished batches warm in a 200°F (95°C) oven while you fry the rest.
- Let the oil recover between batches (2–3 minutes). Bring the oil back to 350°F (175°C) before each new batch, and skim out any large burnt flour bits with a slotted spoon so they do not scorch and bitter the oil.
Tips for Perfect Results
- Temperature control is everything. Too hot and the crust burns before the meat cooks; too cool and the crust drinks oil and turns soggy. A clip-on frying thermometer costs little and removes all the guesswork.
- Dry chicken, dry coating, hot oil. Those three conditions give you crispness. Any surface moisture left from the brine will fight the crust, so take the patting-dry step seriously.
- Do not crowd the pan. Overcrowding crashes the oil temperature and steams the chicken. Leave space between pieces; fry in batches and keep the finished chicken warm in a low oven.
- Let the flour rest on the chicken. The 15–20 minute rest after dredging is what makes the coating stay put. If your crust has ever slid off in one sad sheet, it almost certainly needed this rest.
- Season the flour generously. The crust is most of the flavour experience, and bland flour means bland chicken no matter how good the brine is. The flour should taste noticeably seasoned if you pinch a little before adding the brine drizzle.
- Use a rack, not paper towels. Steam is the enemy of a finished crust. A wire rack keeps air moving around the chicken so it stays crisp while it rests.
- Keep pieces of similar size together. Fry thighs with thighs and wings with wings when you can, so each batch finishes at the same time.
Variations and Substitutions
- Spicy Nashville-style. After frying, brush the chicken with a mixture of ½ cup (120 ml) of the hot frying oil, 1 tablespoon cayenne, 1 tablespoon brown sugar, 1 teaspoon paprika, and ½ teaspoon garlic powder for a fiery, glossy finish. Serve on white bread with pickles.
- Herb-seasoned crust. Add 1 teaspoon each of dried thyme and dried oregano, plus ½ teaspoon of celery salt, to the flour for a more old-fashioned, savoury flavour reminiscent of church-picnic chicken.
- Boneless version. Use boneless, skinless thighs (about 2 lb / 900 g). Brine for just 2–3 hours, dredge the same way, and fry 4–5 minutes per side. Excellent for sandwiches.
- Oven-“fried” finish. For a slightly lighter result, fry the chicken for only 3–4 minutes per side to set and colour the crust, then finish on a rack in a 400°F (200°C) oven for 15–20 minutes, until it reaches temperature.
- Cornmeal crunch. Replace ½ cup (60 g) of the flour with fine yellow cornmeal for a crust with extra grit and crunch, in the style of some Carolina fish-camp chicken.
- No cornstarch on hand. The cornstarch adds crispness but is not essential; replace it with the same amount of flour and lean on the double dredge and rest for crunch.
What to Serve With
Fried chicken anchors the classic Southern plate: serve it with creamy mashed potatoes and pan gravy, collard greens cooked with a smoked turkey leg, macaroni and cheese, coleslaw for cool crunch, and wedges of unsweetened cornbread or fluffy buttermilk biscuits for sopping. For a picnic, it is superb at room temperature with potato salad, deviled eggs, sliced tomatoes, and sweet iced tea. Dill pickle chips and hot honey or pepper jelly on the side are welcome modern additions that any grandmother would approve of once she tasted them.
Serving and Storage
Serve fried chicken hot from the rack, or let it cool to room temperature for picnics — it is traditionally eaten both ways, and many Southern cooks insist the flavour peaks when it is just warm. Do not cover hot fried chicken tightly; trapped steam softens the crust within minutes. If you must hold it, keep it uncovered on a rack in a 200°F (95°C) oven for up to an hour.
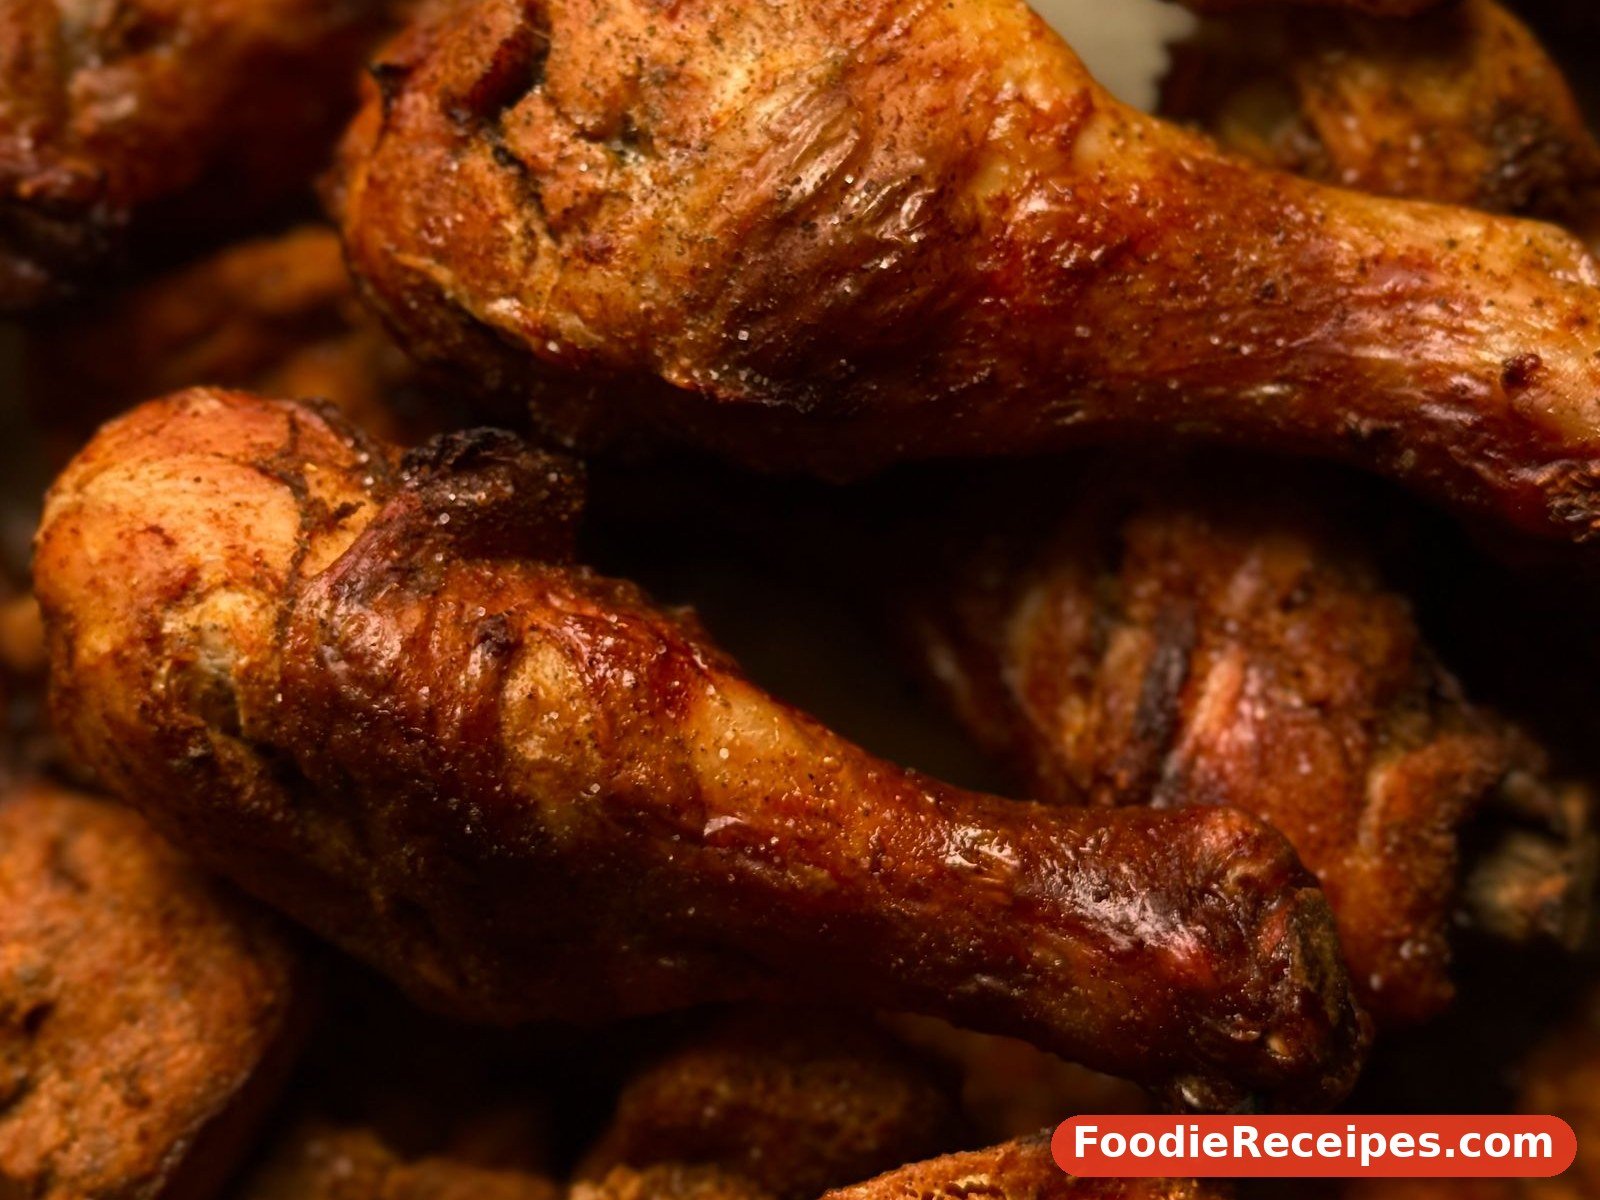
In the fridge: Cool leftovers completely, then store in an airtight container lined with a paper towel for up to 3–4 days. Cold fried chicken straight from the fridge is a delicacy in its own right.
In the freezer: Fried chicken freezes well for up to 3 months. Wrap pieces individually in foil, seal in a freezer bag, and freeze. Thaw overnight in the fridge before reheating.
To reheat: The oven restores the crust best. Place pieces on a rack over a sheet pan and heat at 400°F (200°C) for 15–20 minutes (from thawed), until hot and crisp and the internal temperature reaches 165°F (74°C). An air fryer at 375°F (190°C) for 8–10 minutes also works beautifully. Avoid the microwave for anything but desperation — it steams the crust soft.
Leftover ideas: Chop cold chicken into chicken salad, shred it over waffles with maple syrup, layer it into a sandwich with slaw, or dice it into a pot pie filling.
Frequently Asked Questions
Can you really fry great chicken without buttermilk?
Absolutely. Buttermilk is one route to tender, seasoned chicken, but a salt-water brine does the essential work — seasoning the meat deeply and helping it stay juicy. Southern cooks fried chicken this way for generations, and many prefer the cleaner flavour and extra-crisp crust this method gives.
How long should I brine the chicken?
Four to eight hours is the sweet spot for cut-up chicken pieces. Under four hours and the centre stays bland; over eight to ten hours and the surface can turn overly firm and salty. Boneless pieces need only two to three hours.
Why did my crust fall off during frying?
The three usual causes: the chicken was still wet when dredged, the coated chicken did not rest before frying, or the chicken was moved too early in the oil before the crust set. Pat dry, rest 15–20 minutes after dredging, and leave the pieces alone for the first five or six minutes of frying.
Why is my chicken crispy outside but raw in the middle?
The oil was too hot, so the crust raced ahead of the meat. Keep the frying temperature between 300–325°F (150–165°C) after the initial drop, fry large pieces a little longer, and always confirm with a thermometer. Letting the chicken sit at room temperature for 20–30 minutes before frying also helps it cook evenly.
What is the best oil for frying chicken?
Peanut oil is the Southern favourite for its high smoke point and neutral flavour. Vegetable, canola, and refined sunflower oil all work well. Old-fashioned cooks used lard or vegetable shortening, which give excellent flavour and crispness. Save olive oil for something else — its smoke point is too low for deep frying.
How do I keep the chicken warm and crisp while frying batches?
Set your oven to 200°F (95°C) and hold finished pieces on a wire rack over a sheet pan. The low heat keeps them hot without steaming, and the rack keeps the crust off any pooled oil.
Can I use this method with a whole batch of only thighs or only wings?
Yes — it works with any single cut. Thighs alone are a wonderful choice (fry about 14–16 minutes total), and wings make superb party food (about 10 minutes total). Keep pieces similar in size within each batch.
Is the sugar in the brine necessary?
No. It is entirely optional and there only to encourage deep golden browning. The chicken will not taste sweet. Leave it out if you prefer — the brine seasons perfectly well without it.
Final Thoughts
Great fried chicken was never about a fashionable ingredient; it is about patience and a few simple things done carefully. A salt brine, seasoned flour, a resting dredge, and steady oil will give you chicken that crackles when you bite it and stays juicy to the bone — no buttermilk required. Master this base method and you have a recipe worth handing down, which is exactly what it is: the way fried chicken was made in Southern kitchens long before anyone thought to write it down.