
Every great diner has the same soundtrack: coffee cups clinking, orders being called out, and the constant sizzle of hash browns on a flat-top grill. Those hash browns — shredded potatoes cooked into a wide, golden patty with edges so crisp they practically shatter, and a soft, steamy center — are the backbone of the American breakfast plate. They soak up egg yolk, they love ketchup, and they make everything else on the plate taste better.
Yet at home, hash browns so often disappoint. They come out pale, soggy, steamed instead of fried, or they fall apart in a sad pile of shreds. Here is the truth we learned after many test batches: diners are not doing anything magical. They are simply respecting three things most home cooks skip — removing surface starch, getting the potatoes properly dry, and leaving the potatoes alone once they hit the hot pan. Master those, and your skillet will turn out hash browns every bit as crisp and golden as the best corner diner’s.
This recipe uses fresh russet potatoes shredded at home, a cast iron or heavy skillet, and a simple blend of butter and oil for flavor and browning. We will cover every step in detail, explain exactly how to flip the whole patty like a pro (with a no-fear method for beginners), and share the variations — cheesy, loaded, onion-flecked — that keep this humble dish exciting for years.
Serves: 4 people | Prep time: 15 minutes, plus 20 minutes soaking | Cook time: 14–18 minutes | Total time: about 50 minutes
The Three Secrets of Truly Crispy Hash Browns
Secret one: rinse away the surface starch. A raw potato is full of starch, and the starch clinging to the outside of the shreds is what makes hash browns gluey and causes them to steam instead of fry. It also makes the shreds stick together in pale clumps and turn gray. Rinsing or briefly soaking the shreds until the water runs mostly clear removes that loose starch and sets you up for crisp, distinct, golden strands.
Secret two: dry, dry, dry. Water is the enemy of crispness. If wet shreds go into the pan, the water must boil off before any browning can begin, and during that time the potatoes steam in their own liquid and turn soft. Diners keep their shredded potatoes drained and ready; at home, the equivalent is a salad spinner or squeezing the shreds in a clean kitchen towel until they feel almost dry to the touch. This single step makes the biggest difference of all.
Secret three: heat, fat, and patience. The pan must be properly hot before the potatoes go in, there must be enough fat to conduct heat into every shred, and — hardest of all — you must not stir. Hash browns crisp through undisturbed contact with the hot pan. Press them into an even layer, set a timer, and walk away. The crust forms in those quiet minutes.
Ingredients
- 2 lb (900 g) russet potatoes — about 4 medium potatoes (russets are essential here; see the note below)
- 1 teaspoon (6 g) fine sea salt, plus more to taste
- ½ teaspoon freshly ground black pepper
- ½ teaspoon garlic powder (optional, but very diner-authentic)
- ¼ teaspoon paprika (optional, for color)
- 2 tablespoons (30 ml) neutral high-heat oil (avocado, canola, or vegetable)
- 2 tablespoons (28 g) unsalted butter (clarified butter is even better — see Tips)
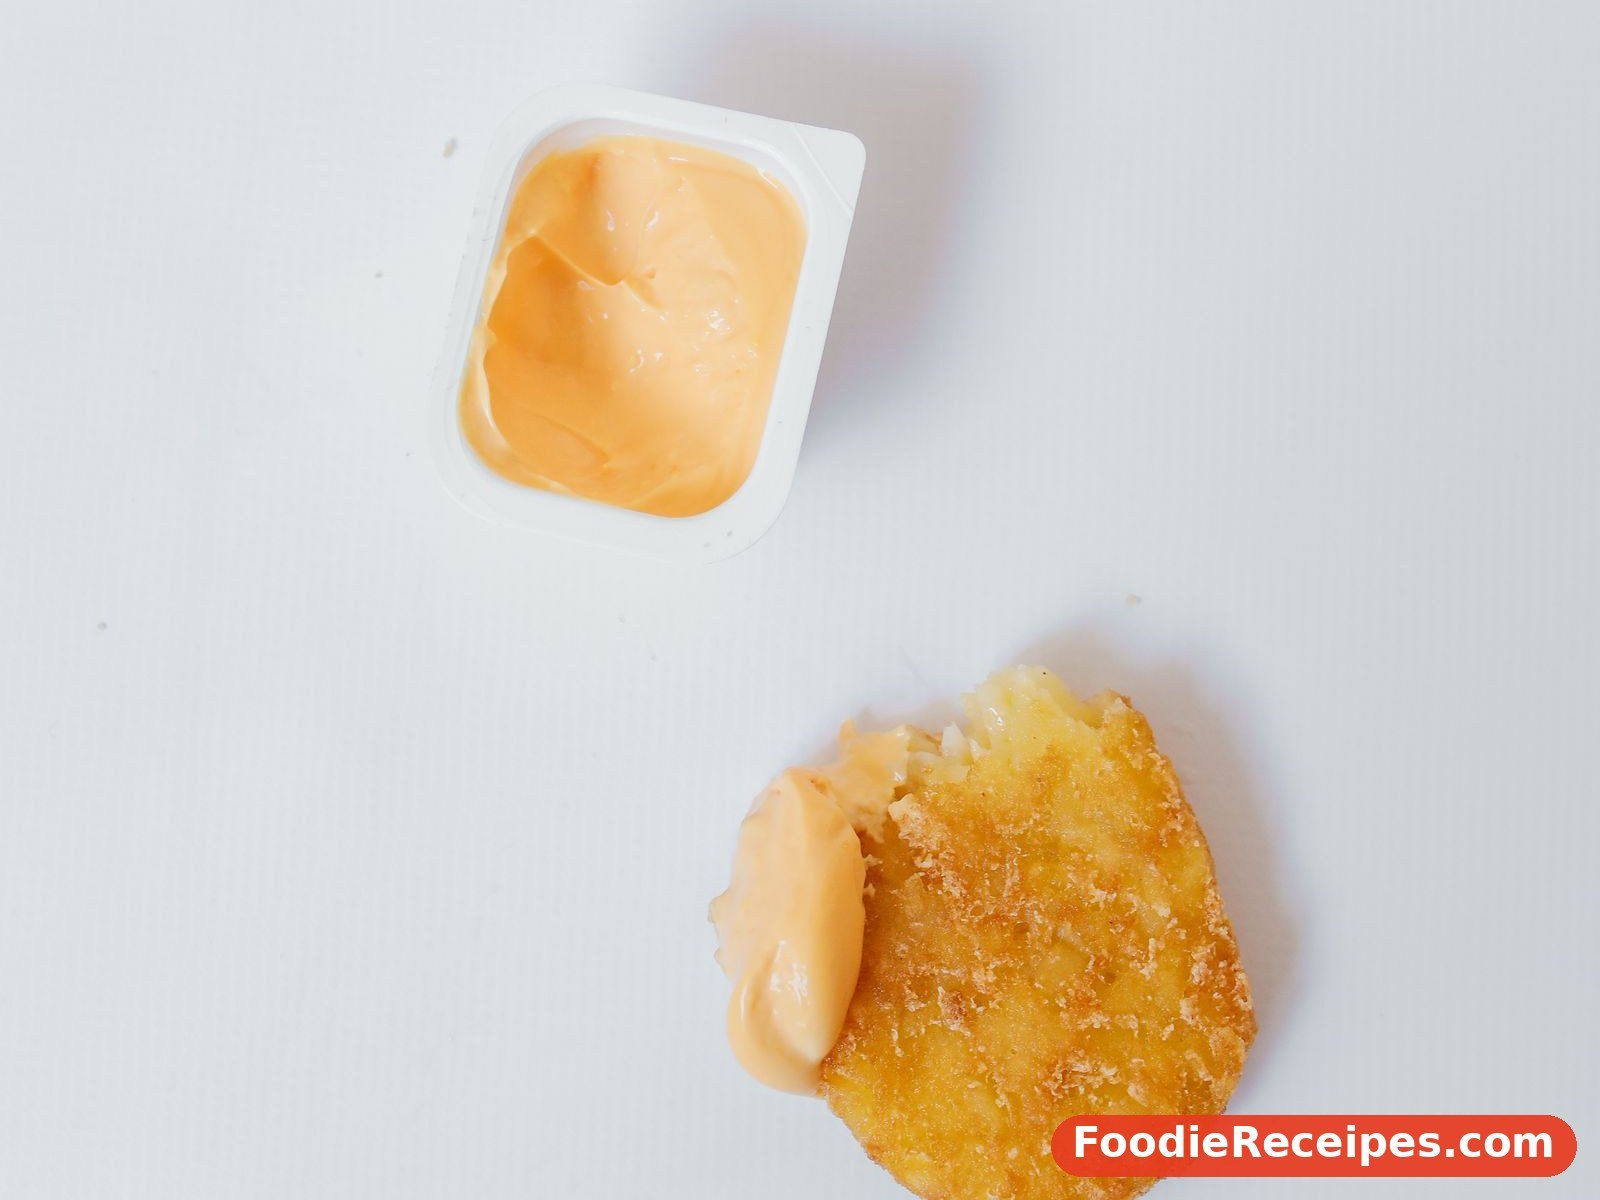
- Ketchup, hot sauce, or malt vinegar, for serving
Optional mix-ins
- ½ small yellow onion (about 60 g), grated or very finely diced
- ½ green or red bell pepper (about 60 g), finely diced
- ¾ cup (85 g) shredded sharp cheddar cheese
- 2 green onions, thinly sliced, for garnish
Why russets? Russet potatoes are high in starch and low in moisture compared with waxy red or yellow potatoes, which makes them fry up crisp outside and fluffy inside. Waxy potatoes hold their shreds too firmly and tend to cook up dense and slightly gummy. If russets are all you remember from this page, your hash browns will already be better than most. Yukon Gold potatoes are an acceptable second choice — the result will be a little denser and more buttery, still delicious.
Step-by-Step Method
- Peel and shred the potatoes (5 minutes). Peel the potatoes and shred them on the large holes of a box grater, or with the shredding disk of a food processor. Work reasonably quickly, because cut potatoes oxidize and turn pinkish-gray in the air — the soak in the next step will protect them and also fix any early discoloration.
- Soak and rinse (20 minutes). Place the shreds in a large bowl, cover with cold water, and swirl them with your hands. Let them soak for about 20 minutes, changing the water once if it becomes very cloudy. Then drain and rinse under cold running water until the water runs mostly clear. (In a hurry? Three thorough rinses, swishing well each time, will do an acceptable job.)
- Dry the shreds thoroughly (5 minutes). This is the step that decides everything. Spin the shreds in a salad spinner in two batches, then spread them on a clean kitchen towel, roll the towel up, and twist and squeeze hard over the sink. Or squeeze handfuls directly in the towel. Keep going until the shreds feel dry and fluffy and the towel is wringing out barely any water. Place the dried shreds in a dry bowl and toss with the salt, pepper, garlic powder, and paprika, plus the onion or bell pepper if using.
- Preheat the skillet properly (3 minutes). Heat a 12-inch (30 cm) cast iron skillet (or another heavy skillet, or a griddle) over medium-high heat for 2 to 3 minutes. Add the oil and swirl to coat the bottom. When the oil shimmers and just begins to wisp, add the butter and let it melt and foam. The combination gives you the best of both worlds: oil for higher heat tolerance, butter for flavor and golden color.
- Add the potatoes and press (1 minute). Scatter the seasoned shreds evenly over the whole surface of the skillet in a layer about ½ inch (1.25 cm) thick. Using a wide spatula, press down firmly and evenly across the top to pack the shreds into a single cohesive patty with maximum contact against the pan. Tidy the edges inward. Then — this is crucial — do not touch it again.
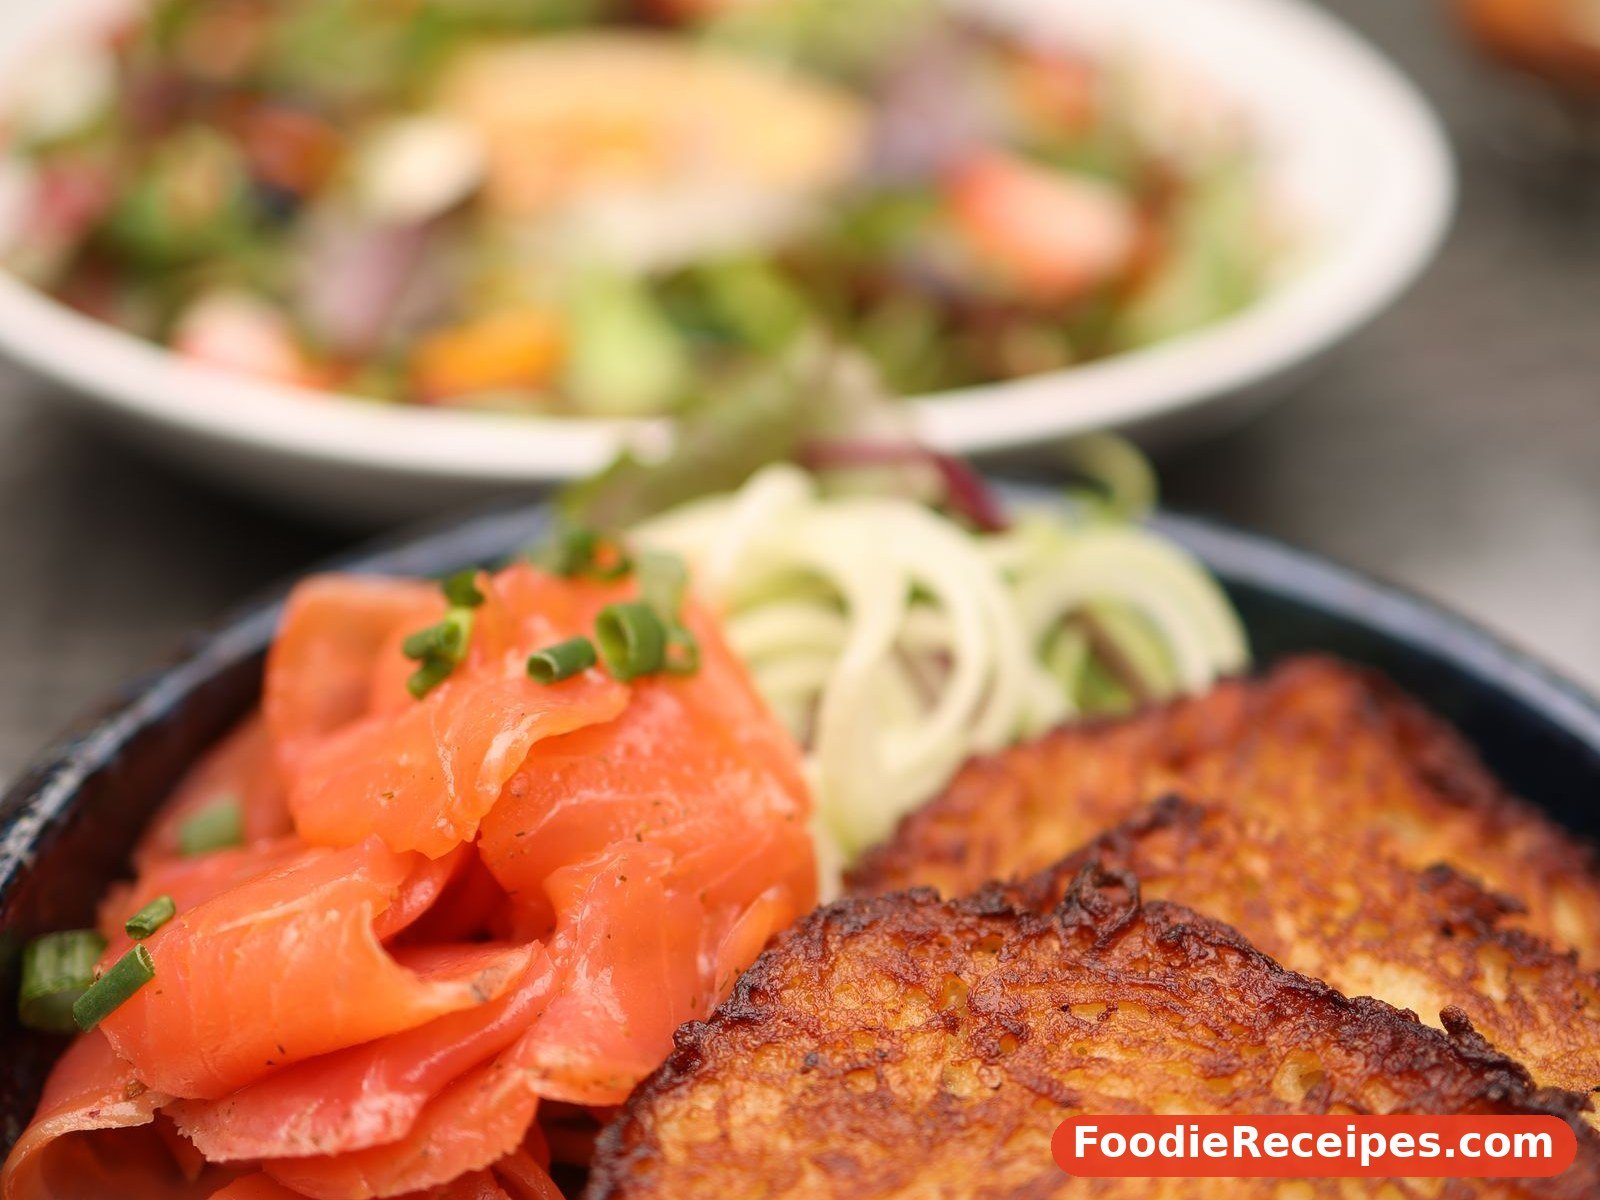
- Cook the first side, undisturbed (6–8 minutes). Let the patty cook without stirring, pressing, or peeking for at least 5 minutes. After that, lift one edge gently with the spatula to check the color. You are looking for a deep, even golden brown with lacy, darker edges. Depending on your stove, the first side takes 6 to 8 minutes in total. If it is browning too fast, reduce the heat slightly; too slowly, nudge it up.
- Flip the patty (the confident part). Two reliable methods: (a) The plate method — slide the patty, cooked side down, onto a large plate or the back of a baking sheet. Place the skillet upside down over the plate, and flip them together so the patty lands back in the pan, raw side down. Add a little more butter or oil to the pan first if it looks dry. (b) The quarter method — cut the patty into 4 wedges with the edge of your spatula, and flip each wedge individually. Slightly less elegant, completely stress-free, and the wedges crisp beautifully along their cut edges.
- Cook the second side (5–7 minutes). Press the patty (or wedges) down gently once more and cook undisturbed until the second side is equally golden and crisp and the center shreds are tender, 5 to 7 minutes. If you are adding cheese, sprinkle it over the top during the last 2 minutes and cover the pan briefly so it melts.
- Serve immediately. Slide the hash browns onto a warm platter or divide among warm plates. Shower with a final pinch of salt and the sliced green onions if using. Hash browns wait for no one — their crispness is at its peak in the first few minutes.
Tips for Perfect Results
- Clarified butter is the diner’s quiet weapon. Regular butter’s milk solids brown and can burn during the long cook; clarified butter (or ghee) gives pure butter flavor with a much higher smoke point. To clarify: melt butter, skim the foam, and pour off the clear golden liquid, leaving the milky solids behind.
- Do not crowd the pan. A layer thicker than about ½ inch (1.25 cm) steams in the middle. If you are doubling the recipe, cook two batches or use two skillets — or a large electric griddle if you have one.
- Season before cooking, salt again after. The initial seasoning flavors the whole patty; a final light sprinkle of flaky salt on the crisp surface makes the flavor pop.
- Cast iron holds heat best, which keeps the temperature from crashing when the potatoes go in. If you use a thinner pan, give it an extra minute of preheating and expect to adjust the heat as you go.
- Frozen shredded potatoes work too. Many diners use them. Thaw, then dry them exactly as described — frozen shreds hold a surprising amount of water — and cook as directed. The result is very close to fresh.
- Resist the stir. Every stir breaks the crust and releases steam. Hash browns reward the patient cook more than almost any other dish.
- If the center is soft but the crust is done, the layer was a little thick — just give it two more minutes over reduced heat, or flip once more for a bonus-crisp finish.
Variations and Substitutions
Loaded hash browns: Top the finished patty with shredded cheddar, crumbled cooked bacon, a dollop of sour cream, and sliced green onions. Essentially a breakfast baked potato in crispy form.
Southwest style: Add the diced bell pepper and onion to the shreds, season with ½ teaspoon cumin and a pinch of chili powder, and serve with salsa and a fried egg.
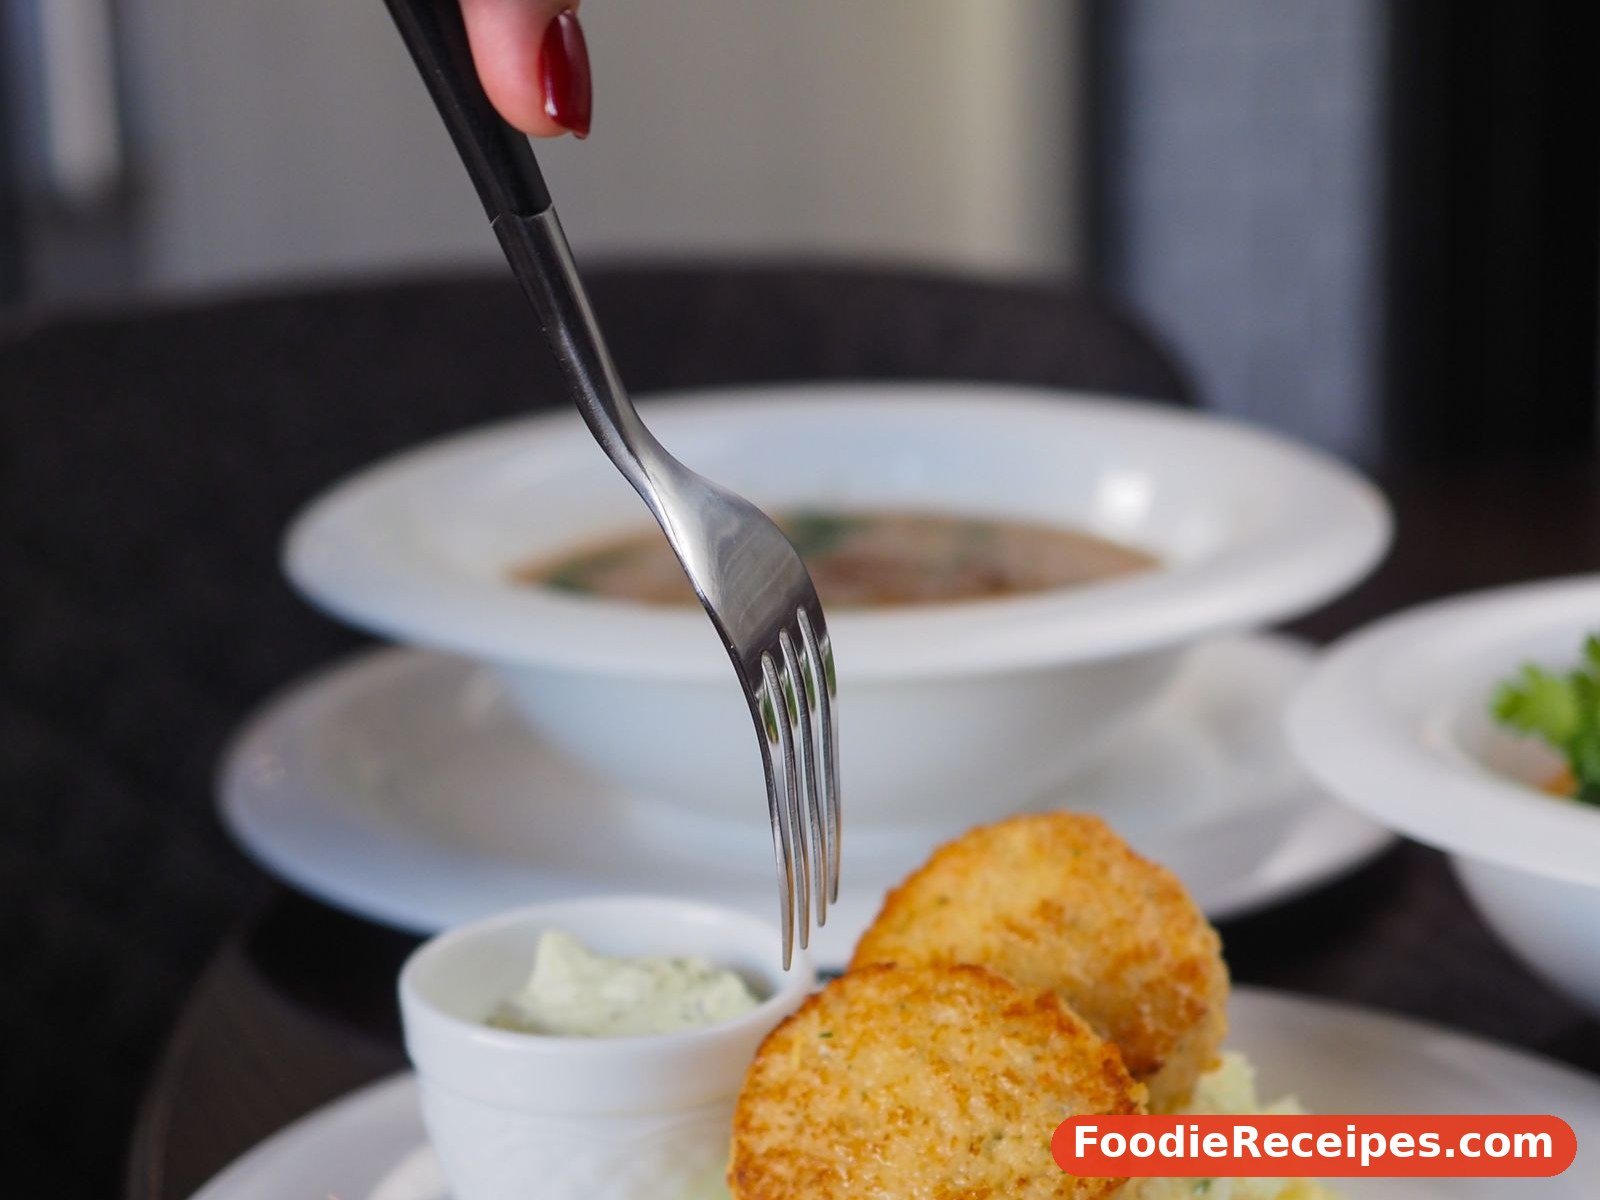
Hash brown patties (make-ahead shape): After seasoning, press the shreds firmly into a greased muffin tin or form them into 4 tight patties by hand and chill for 30 minutes. Fry as directed, about 5 minutes per side. They hold together wonderfully and are great for sandwiches.
Sweet potato hash browns: Swap in sweet potatoes, shred and dry the same way (skip the soak — 5 minutes is plenty), and season with a pinch of cinnamon and cayenne alongside the salt. They caramelize faster, so watch the heat and expect a slightly softer center.
Breakfast hash (the full skillet): After flipping, scatter over diced cooked sausage or corned beef and chopped peppers, crack two eggs into little wells pressed into the top, cover, and cook until the eggs are just set. A complete breakfast in one pan.
What to Serve With
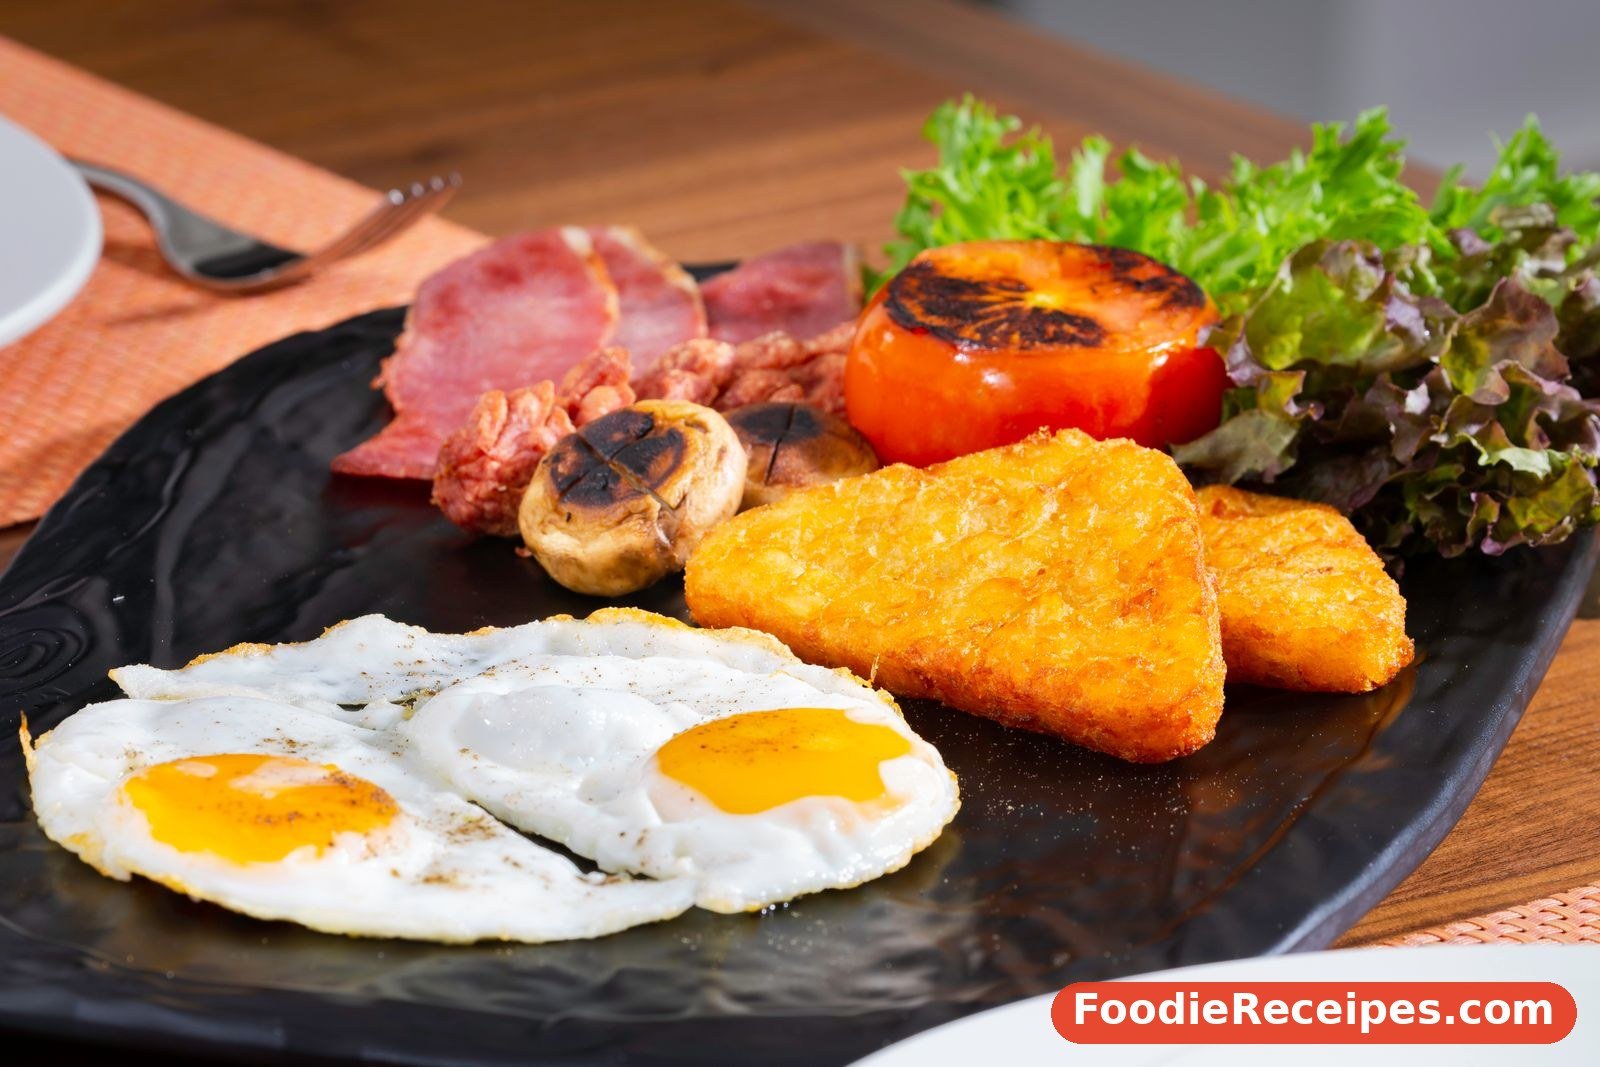
Hash browns are the great supporting actor of breakfast: eggs any style (over-easy yolks running into the crisp shreds is the classic pairing), bacon or sausage, buttered toast, and hot coffee. They are equally at home next to biscuits and gravy, under a ladle of country gravy themselves, or as the base for eggs Benedict in place of the English muffin. For a lighter morning, serve a smaller portion with a fruit cup and a soft-scrambled egg. Ketchup is the traditional condiment; hot sauce, salsa, and even a drizzle of maple syrup all have their devoted fans.
Serving and Storage
Serve immediately for maximum crispness — there is no way around it, hash browns soften as they sit. If you must hold them, keep them in a single layer on a rack set over a baking sheet in a 250°F (120°C) oven for up to 20 minutes; the rack keeps the underside from steaming.
Refrigerator: Leftovers keep for up to 3 days in an airtight container. They will lose their crunch but not their flavor.
Freezer: Cooked hash browns freeze reasonably well for up to 1 month. Freeze in a single layer first, then bag. Raw seasoned shreds (dried) can also be frozen for up to 1 month — cook from thawed, drying again before they hit the pan.
Reheating: The skillet or oven brings the crisp back: reheat in a lightly oiled skillet over medium heat for 3–4 minutes per side, or on a baking sheet at 425°F (220°C) for 8–10 minutes, flipping once. An air fryer at 400°F (200°C) for 5–6 minutes is excellent too. The microwave is the one method to avoid — it steams the potatoes soft.
Frequently Asked Questions
Why do my hash browns always turn out soggy?
Almost always, the potatoes were too wet, the pan was not hot enough, or the layer was too thick. Dry the shreds until they feel fluffy, preheat the pan until the oil shimmers, and keep the layer around ½ inch (1.25 cm). Fix those three things and sogginess disappears.
Do I really need to soak the potatoes?
For the crispiest result, yes — soaking removes the surface starch that makes shreds gluey and gray. If you are short on time, rinse the shreds three times in a colander, swishing well, and dry extra-thoroughly. It is 90 percent as good.
Can I use frozen hash browns from a bag?
Absolutely — that is what many diners do. Thaw them first (or spread them on a tray for 20 minutes), then dry them very well with the towel method. Frozen shreds release a lot of water, so this drying step is even more important.
Why did my hash browns fall apart when I flipped them?
Usually the crust had not fully formed, or the shreds were not pressed together firmly enough at the start. Press the layer down well, give the first side its full cooking time, and use the plate method or the quarter method until you build confidence.
Should I cook hash browns in butter or oil?
Both, ideally. Oil raises the smoke point so the potatoes can fry hard without burning; butter delivers flavor and golden color. Clarified butter alone is the diner pro move if you want to keep just one fat in the pan.
How do I stop the potatoes from turning gray or pink?
Oxidation. Keep the shreds in cold water from the moment they are grated until you are ready to dry them, and do not let dried, seasoned shreds sit around for more than a few minutes before cooking. The soak handles discoloration and starch in one step.
Can I make hash browns ahead for a crowd?
Cook them fully, hold them on a rack in a low oven (250°F / 120°C) for up to 20–30 minutes, and they will still be respectably crisp. For a big brunch, cook in batches and hold each batch this way rather than crowding one giant batch into the pan.
What potatoes should I avoid?
Waxy red potatoes and most fingerlings — they are low in starch and high in moisture, so they fry up dense and a little gummy and resist forming that lacy crust. Russets first, Yukon Golds second, and you will not go wrong.
A Final Word From Our Kitchen
Crispy hash browns are less a recipe than a small discipline: rinse, dry, press, and wait. It asks for ten patient minutes and rewards you with a golden, shattering crust that no frozen shortcut quite matches. Once the rhythm is in your hands, you will find yourself making them on ordinary Tuesdays, not just weekend mornings — and every breakfast plate you serve will be better for it. Fire up the skillet and let them sizzle.