

You are halfway through measuring ingredients, the butter is already melting, and then you see it: the brown sugar bag is empty. It happens in every kitchen eventually. The good news — the genuinely great news — is that you can still bake chewy chocolate chip cookies without brown sugar, and not a single person who tastes them will guess a thing. This recipe was built from the ground up to deliver everything brown sugar normally brings to the party: moisture, chew, and that deep, almost caramel sweetness.
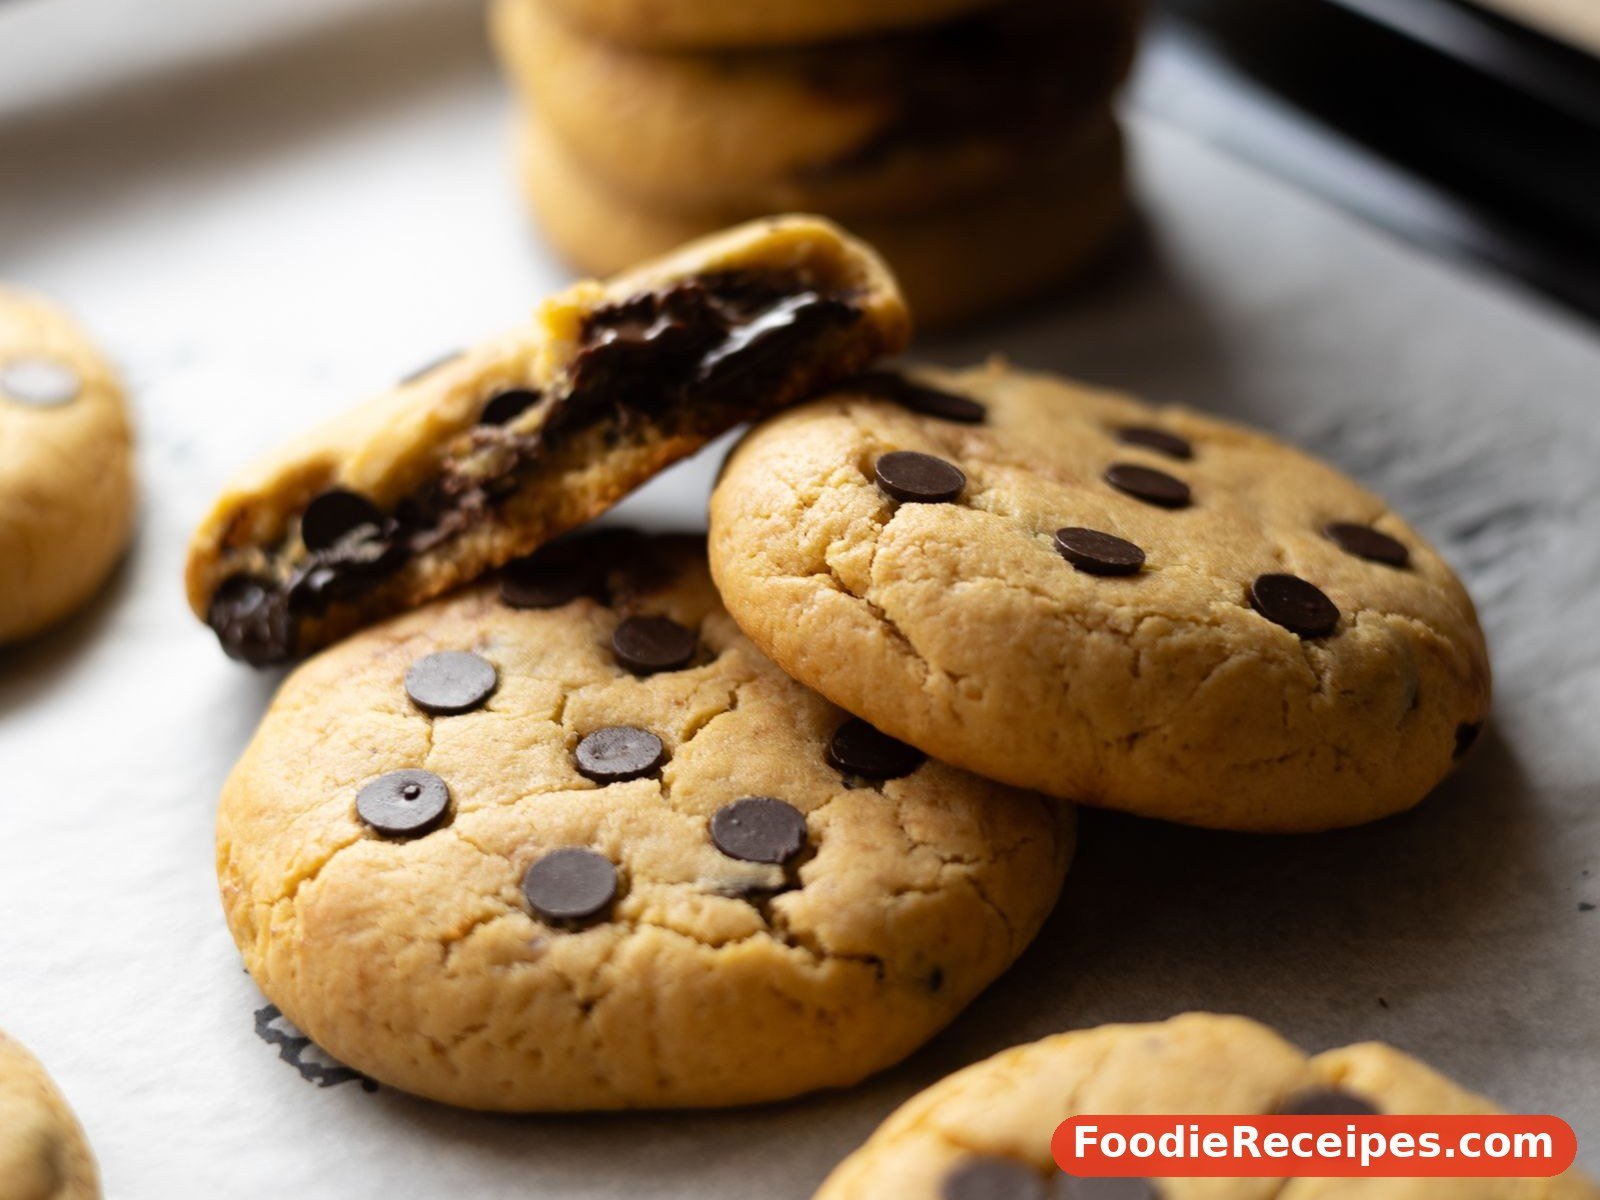
Here is the simple baking logic. Brown sugar is just white sugar with molasses in it, and the molasses does three jobs: it adds moisture, a little acidity, and rich flavor. To replace it, this recipe uses granulated sugar plus a spoonful of honey, which brings back the moisture and golden flavor, a touch of cornstarch to keep the centers tender, and an extra egg yolk for richness and chew. Melted butter, a short chill and slightly underbaking at the end do the rest. The result is a cookie with crisp, golden edges, a soft and chewy middle, and pools of melted chocolate in every bite.
These are bakery-style cookies: generously sized, a little craggy on top, and best eaten warm when the chocolate is still glossy. The dough is simple enough for a weeknight and forgiving enough for beginners, and it freezes beautifully for fresh-baked cookies on demand. Whether your pantry failed you or you simply prefer the clean, vanilla-butter flavor of a white-sugar cookie, this batch will earn its place in your regular rotation.
Serves: about 18 large cookies | Prep time: 15 minutes, plus 30 minutes chilling | Cook time: 10–12 minutes per batch | Total time: about 1 hour
Ingredients
Because there is no brown sugar here, every other ingredient pulls a little extra weight, so measure with a bit of care — especially the flour. Spoon the flour into the cup and level it off rather than scooping, or weigh it. Too much flour is the number one cause of puffy, cakey cookies, and chew is what we are protecting.
- 2¼ cups (280 g) all-purpose flour
- 1 teaspoon baking soda
- 1 teaspoon cornstarch
- 1 teaspoon fine salt
- ¾ cup (170 g) unsalted butter, melted and slightly cooled
- 1 cup (200 g) granulated sugar
- 1 tablespoon (21 g) honey
- 1 large egg plus 1 egg yolk, at room temperature
- 2 teaspoons pure vanilla extract
- 2 cups (340 g) semisweet chocolate chips or chunks
- Flaky sea salt, for sprinkling on top (optional)
Step-by-Step Method
- Mix the dry ingredients (2 minutes). In a medium bowl, whisk together the flour, baking soda, cornstarch and salt until evenly combined. The cornstarch is a quiet chew-maker — it keeps the crumb soft for days — so do not skip it. Set the bowl aside.
- Combine the butter, sugar and honey (3 minutes). In a large mixing bowl, whisk the melted butter, granulated sugar and honey until the mixture looks glossy and the sugar begins to dissolve, about 1 minute of steady whisking. Because white sugar is drier than brown, this step matters: getting the sugar well acquainted with the fat now means a smoother dough and a more even chew later.
- Add the egg, yolk and vanilla (2 minutes). Whisk in the whole egg, then the extra yolk, then the vanilla, mixing after each addition until the batter looks thick and shiny. The extra yolk is our second chew insurance — it adds fat and emulsifiers that keep the centers soft and rich instead of bready.
- Bring the dough together (2 minutes). Pour the dry ingredients over the wet and fold with a spatula just until no dry flour remains. Add the chocolate chips and fold until they are evenly scattered. The dough will be soft and a little greasy-looking; that is correct. Do not overmix — once flour meets liquid, every extra stir builds gluten and toughness.
- Chill the dough (30 minutes). Cover the bowl and refrigerate for at least 30 minutes, and up to 72 hours. Chilling firms the butter so the cookies spread slowly and stay thick, and it gives the flour time to hydrate, which deepens the flavor and improves the chew. Cold dough is non-negotiable for this recipe — warm dough spreads into thin, crisp wafers.
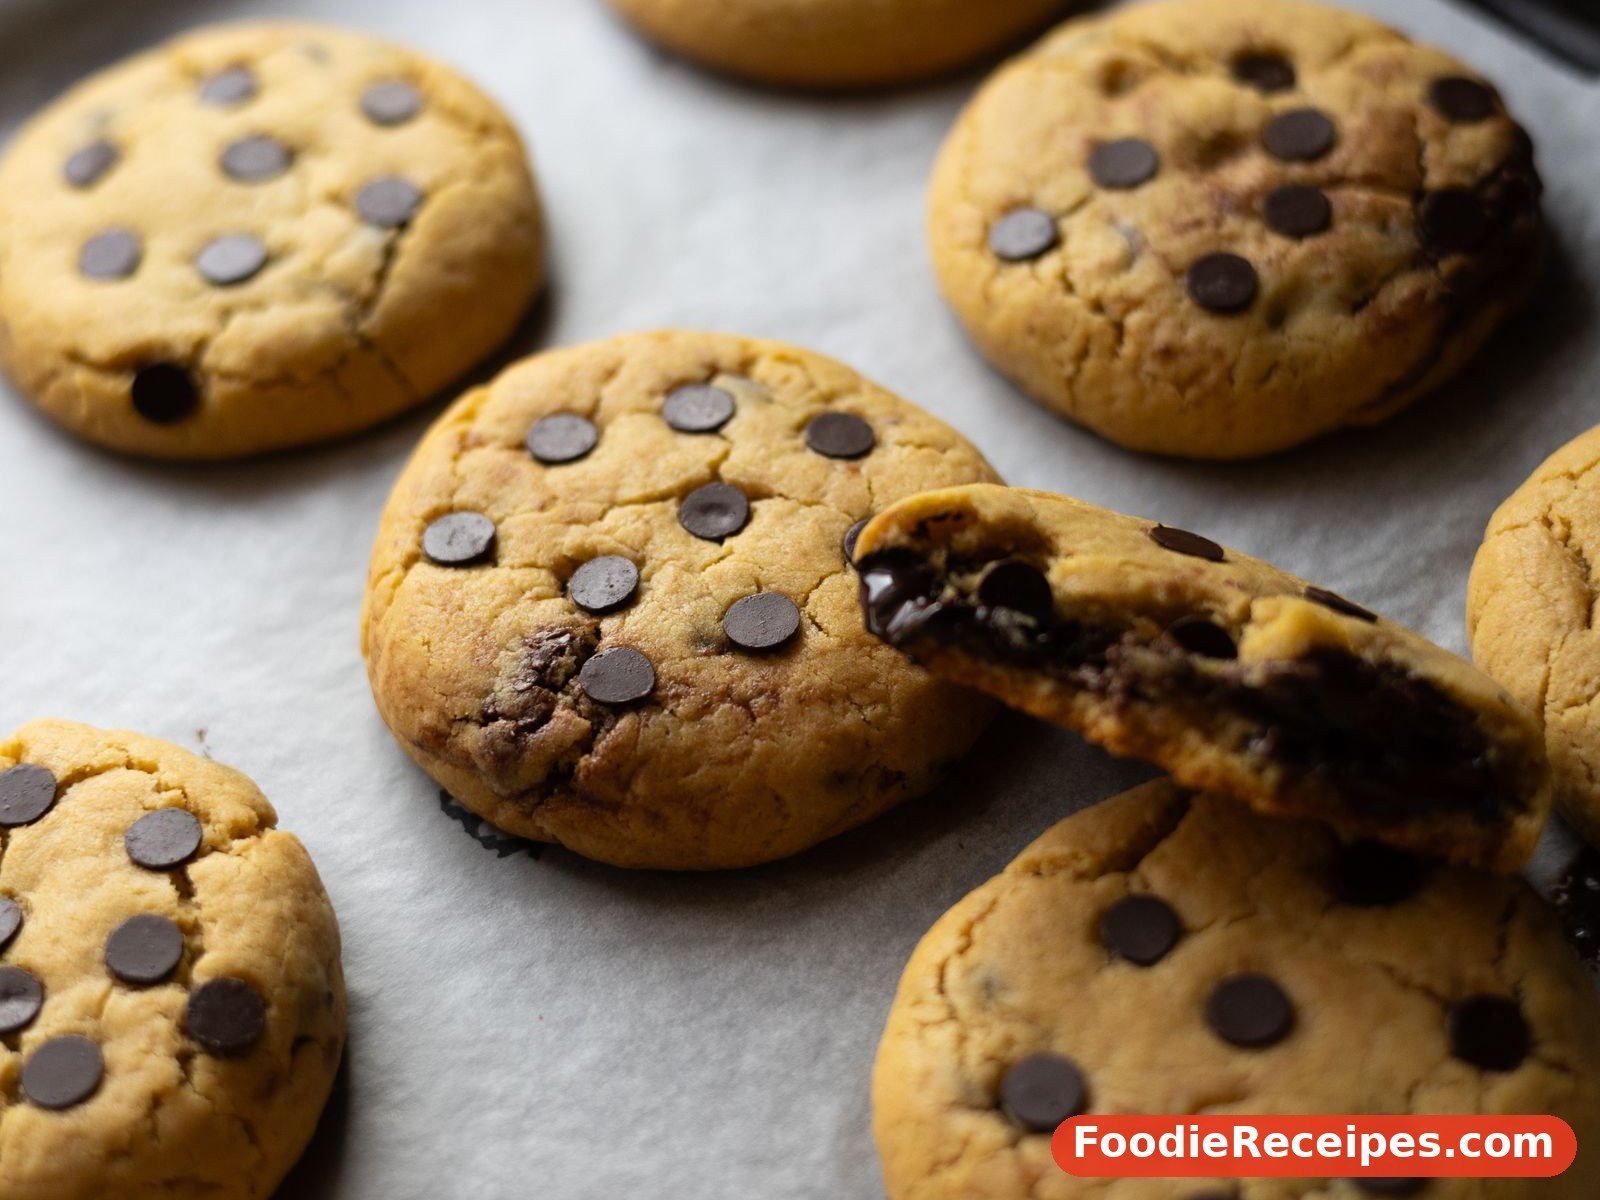
- Heat the oven and portion (5 minutes). Preheat the oven to 350°F (175°C). Line two baking sheets with parchment paper. Scoop the dough into balls of about 3 tablespoons (about 55 g) each — a cookie scoop makes this easy — and place them 2 inches (5 cm) apart. For bakery-style looks, tear each ball in half and press the halves back together with the jagged sides facing up.
- Bake until just golden at the edges (10–12 minutes). Bake one sheet at a time for 10 to 12 minutes, until the edges are set and light golden and the centers still look slightly pale and puffy-soft. The cookies will look a little underdone in the middle — that is exactly what you want. They finish setting as they cool, and that gentle underbake is where the chew lives. If you like, press a few extra chocolate chips onto the hot tops and sprinkle with flaky salt.
- Cool on the pan (10 minutes). Let the cookies rest on the hot baking sheet for 10 minutes before moving them to a wire rack. Moving them too soon can break their soft centers; the rest lets them settle into that dense, chewy texture.
Tips for Perfect Results
- Measure flour by weight if you can. 280 g every time beats a packed cup that sneaks in extra flour and ruins the chew. If you must use cups, spoon and level.
- Do not skip the chill. It is the difference between thick, chewy cookies and flat, crispy ones. Even 30 minutes changes everything.
- Pull them early. The single biggest chew killer is overbaking. When the centers look slightly underdone, they are done.
- Room-temperature eggs blend better. Cold eggs can seize melted butter into lumps. Set the eggs in warm water for 5 minutes if you forget to take them out early.
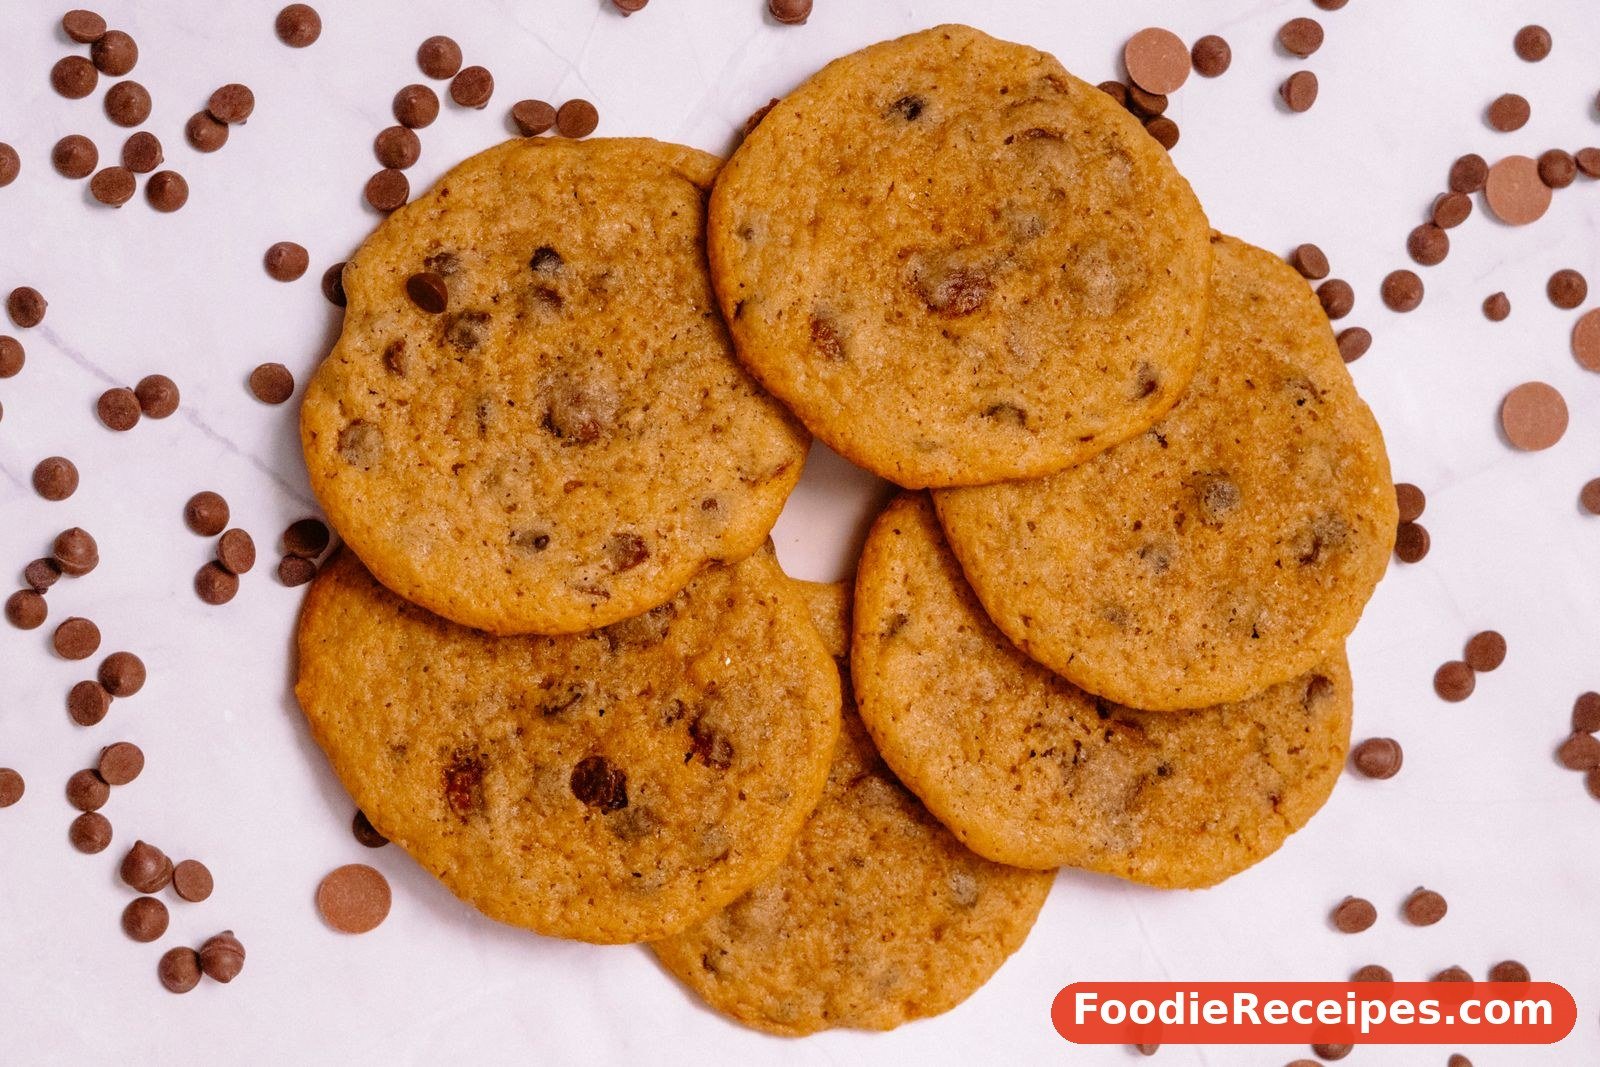
- Use chunks for pools, chips for even spread. Chopped chocolate bars melt into luxurious pools; chips hold their shape. A mix of both gives you the best of each.
- Bang the pan for ripples (optional). Halfway through baking, lift the sheet and drop it once on the rack. It deflates the centers slightly and creates those pretty, rippled edges.
Variations and Substitutions
No honey on hand. Replace the honey with 1 tablespoon of maple syrup or light corn syrup, or simply leave it out and add 1 extra tablespoon (12 g) of sugar — the cookies will be a touch less moist but still chewy thanks to the yolk and cornstarch.
Double chocolate. Replace ¼ cup (20 g) of the flour with unsweetened cocoa powder and keep everything else the same for a dark, brownie-like cookie.
Oatmeal chocolate chip. Swap ¾ cup (65 g) of the flour for quick oats. The cookies get a heartier bite that stands up nicely to the white-sugar base.
Nutty crunch. Stir in ¾ cup (90 g) of chopped toasted walnuts or pecans with the chocolate chips.
Sugar swap note. If you later restock brown sugar and want the classic version, replace the granulated sugar and honey with 1¼ cups (275 g) of packed brown sugar and keep the rest of the method identical — the recipe is built to flex both ways.
Dairy-free. Use a good plant-based butter stick (not a soft spread) in the same amount, and choose dairy-free chocolate. Chill the dough the full hour, since plant butters soften faster.
What to Serve With
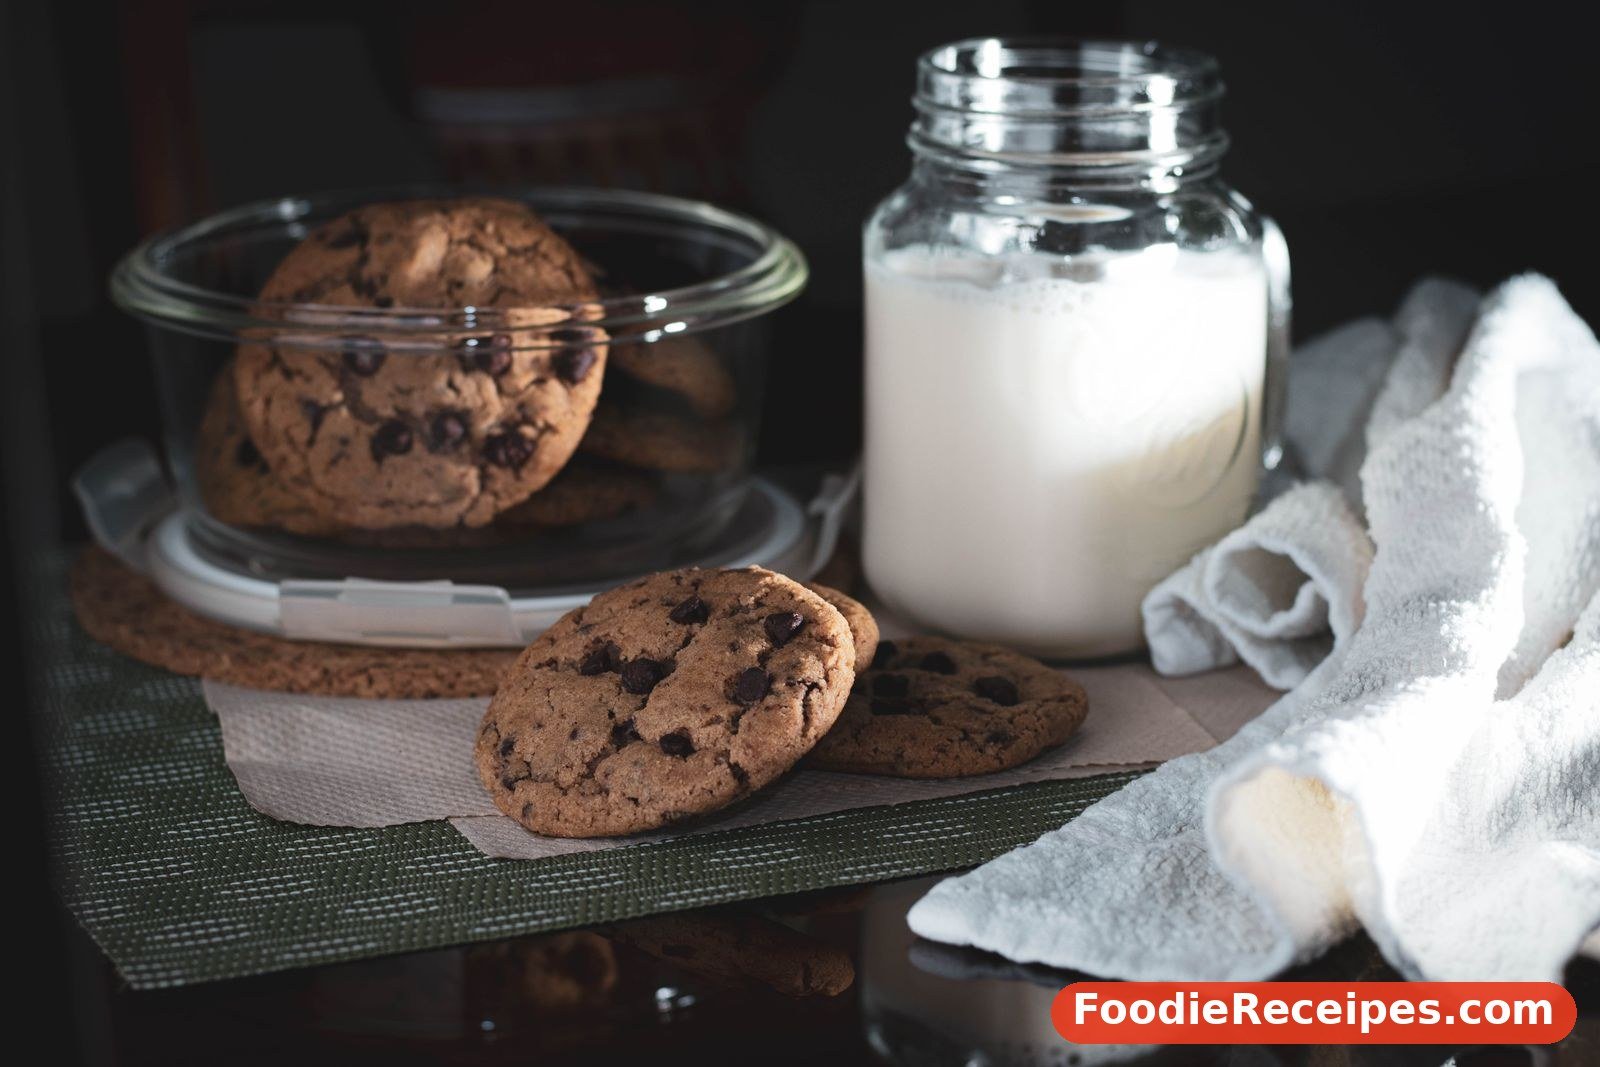
A warm chocolate chip cookie and a glass of cold milk is a combination so classic it barely needs explaining — the milk resets your palate between bites and makes the chocolate taste even deeper. These cookies also make outstanding ice cream sandwiches: sandwich a scoop of vanilla or coffee ice cream between two cookies, roll the edges in mini chips, and freeze for 30 minutes. For a gathering, serve them on a platter with hot coffee or hot chocolate and watch them vanish. Crumbled over vanilla ice cream with a drizzle of caramel, a slightly overbaked cookie becomes an excellent sundae topping, so there is truly no such thing as a failed batch.
Serving and Storage
Serve the cookies warm whenever possible — 10 seconds in the microwave brings back that fresh-baked softness and re-melts the chocolate. Stored in an airtight container at room temperature, they stay chewy for 4 to 5 days; tucking a slice of sandwich bread into the container keeps them softer longer, as the cookies borrow its moisture.
To freeze baked cookies, cool them completely, freeze in a single layer, then store in a freezer bag for up to 3 months. Thaw at room temperature for 30 minutes or warm in a 300°F (150°C) oven for 5 minutes. To freeze dough — the smartest move of all — scoop the balls, freeze them solid on a tray, and bag them for up to 3 months. Bake from frozen at 350°F (175°C), adding 1 to 2 minutes to the bake time, and you can have warm cookies whenever life calls for them, which is often.
Common Mistakes to Avoid
White sugar is a little less forgiving than brown, so this recipe has a handful of specific pitfalls worth knowing before your first batch.
- Using hot melted butter. If the butter goes in steaming, it can cook the eggs, melt the sugar into syrup, and produce cookies that spread into lace. Melt the butter, then let it sit for 8 to 10 minutes until it is warm but comfortable to touch — it should look like liquid gold, not sizzling fat.
- Skipping or shortening the chill. With brown sugar dough you can sometimes get away with baking immediately; with a white sugar and melted butter dough, you cannot. The butter is softer, the sugar is drier, and warm dough will spread into thin, crisp-edged wafers before the centers can set. Thirty minutes is the floor, not a suggestion.
- Judging doneness by the centers. If you wait until the centers look fully baked and firm, the cookies will cool into rocks — carryover heat finishes them on the pan. Pull the tray when the edges are golden and set and the centers still look soft and a bit pale. This single habit is the difference between chewy and crunchy.
- Over-measuring the flour. A scooped cup of flour can hold up to 30 percent more than a weighed 280 g. That extra flour is invisible in the dough and devastating in the finished cookie, which bakes up puffy, dry and bready. Weigh, or spoon and level — every single time for this recipe.
- Baking two sheets at once on different racks. The top rack browns faster, the bottom rack spreads more, and neither batch matches the other. For chewy cookies, even heat is everything: bake one sheet at a time in the center of the oven, and let the second batch wait its turn.
- Moving the cookies too soon. Fresh from the oven, these cookies are fragile in the middle while their structure sets. Give them the full 10 minutes on the hot pan. A cookie moved at minute two tears; a cookie moved at minute ten holds together with a perfect chewy bend.
How to Tell When They Are Perfectly Done
Since “slightly underbaked-looking” is vague the first time you try it, here are more precise signposts. The edges should be a full shade darker than the centers and feel set when you nudge a cookie gently with a fingertip through a spatula. The tops lose their raw, shiny wet look and turn matte, except for the very center of each cookie, which stays soft and slightly puffy. The cookies will have spread into rounds about twice the diameter of the dough balls, with a crinkled ring just inside the edges. If your first batch comes out a touch too crisp or too soft for your taste, adjust by a single minute next batch — cookie perfection is personal, and the recipe is built to flex.
Frequently Asked Questions
Why do these cookies need honey if there is no brown sugar?
Brown sugar gets its chew and flavor from molasses, which is moist and slightly acidic. Honey steps in to provide that missing moisture and a gentle golden flavor, so the cookies taste rich instead of plain.
Can I just use white sugar with nothing else changed?
You can, but the cookies will be crisper, paler and a bit less flavorful. The honey, cornstarch and extra yolk in this recipe are specifically there to restore the chew, so use them if chew is your goal.
My cookies spread too much. What went wrong?
The dough was probably too warm, the butter was hot rather than just melted, or the flour was under-measured. Chill the dough longer, let melted butter cool for 10 minutes before mixing, and weigh the flour next time.
My cookies came out cakey and puffy. Why?
Too much flour or too much mixing are the usual culprits. Spoon and level your flour, and fold the dough just until the last streak of flour disappears.
Can I make the dough ahead of time?
Yes — the dough keeps in the refrigerator for up to 72 hours and the flavor improves as it rests. Let it sit at room temperature for about 15 minutes before scooping if it has turned very firm.
What chocolate works best?
Semisweet is the classic balance. Dark chocolate (60–70%) makes a more grown-up cookie, and milk chocolate makes a sweeter, softer one. Avoid white chocolate as the only chip — it is very sweet against a white-sugar base.
How do I keep the centers soft the next day?
Store the cookies slightly underbaked with a piece of bread in the container, and warm them briefly before eating. That combination restores almost all of the fresh-baked texture.
Can I bake smaller or larger cookies?
Yes — just adjust the time, not the temperature. For small cookies of about 1½ tablespoons of dough, bake 8 to 10 minutes; they will be chewier at the edges and yield roughly 30 cookies. For jumbo bakery cookies of 5 to 6 tablespoons, bake 13 to 15 minutes and give them the full pan rest, since their centers need longer to set. In every size, the same rule applies: golden edges, soft-looking centers, out of the oven.
An empty brown sugar bag is no longer a baking emergency — it is barely a bump in the road. With a spoonful of honey, an extra yolk and a little patience in the fridge, you get chewy, golden, chocolate-loaded cookies that stand proudly next to any classic recipe. Happy baking, and hide a few for yourself before the plate makes its rounds.